Navigating Constructable
Last updated: March 16, 2026
Overview
Constructable is organized by project. Every project contains its own drawings, workflows, and financials. Once you understand one project, you understand them all.
Step 1: Start With the Project
Everything lives inside a project.
Select a project from your dashboard to access its tools.
If you work across multiple jobs, simply switch projects from your dashboard.
Projects are organized with the most recently opened at the top of the page, followed by all active projects. Easily search for a specific project, or click Switch to Table View to filter and group. This page is also where you can add a new project.
If you select a specific project, it will automatically open the Project Dashboard, which gives users an overview of the entire project! This includes RFIs, Submittals, Commitments, Schedule, your Ball-in-Courts, and much more. Quickly navigate to each workflow from the Project Dashboard or from the sidebar.
Step 2: Use the Sidebar
Inside each project, tools are grouped into four sections:
Management Tools – RFIs, Submittals, Documents, Meetings, Reports
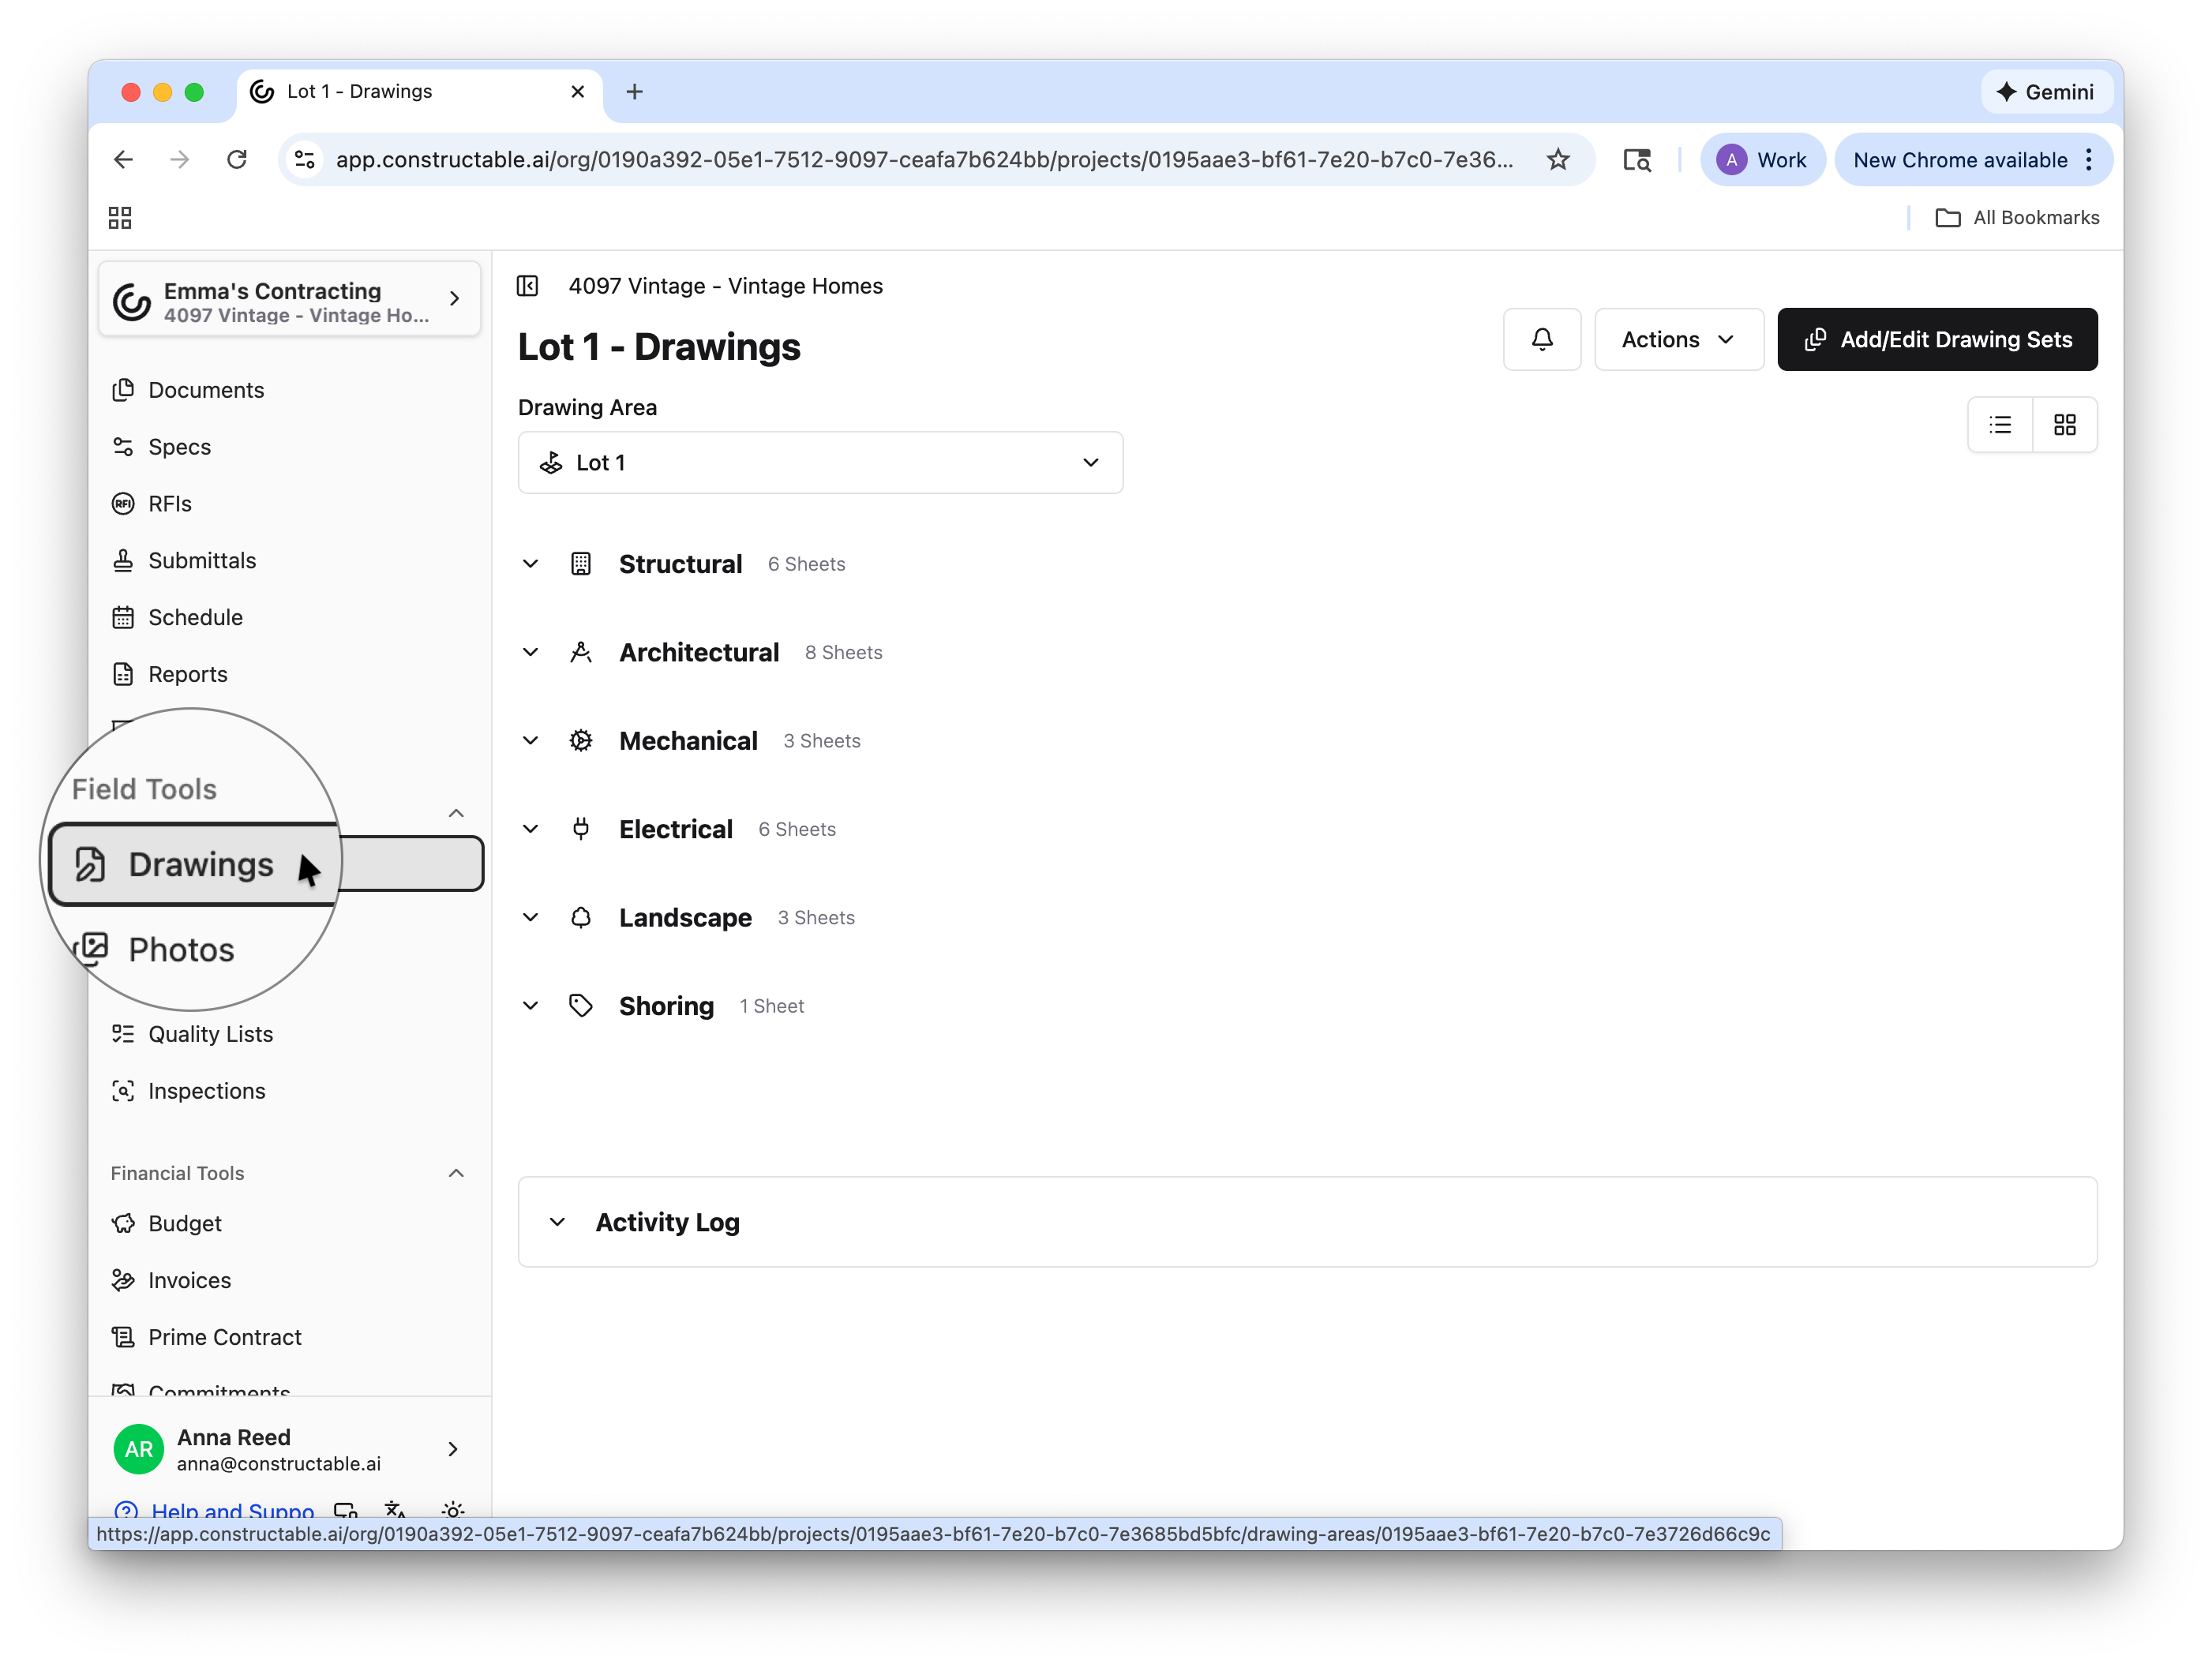
Field Tools – Drawings, Photos, Daily Logs, Quality Lists, Inspections
Financials – Budgets, Change Orders, Commitments, Invoicing
Pre-Construction – Bid Management and Takeoffs
Click any workflow in the sidebar to open it.
Step 3: Start With Drawings
If you’re not sure where to begin, open Drawings.
From there, you can:
Add markups
Create Topics
Pin RFIs
Link Quality List items
Collaborate in real time
Most project activity connects back to the drawings.
Want more information on Drawings? Click here to access all of our drawings-related help articles!
Permissions
What you see depends on your role. If something appears to be missing, it may be due to a permissions setting.
See: 📄 Roles and Permissionsfor more details.
That’s It
Projects contain the work.
The sidebar gets you where you need to go.
Drawings connect it all.
Once you open a project and click around, the layout becomes intuitive.