Using Inspections
Last updated: April 3, 2026
Overview
Inspections help teams standardize field reviews, track results, and document jobsite conditions over time. Whether you're running safety checks, trade-specific inspections, or routine walkthroughs, inspections ensure nothing gets missed and everything is documented.
In Constructable, inspections follow a simple workflow—from draft to completion—where you can build structured checklists, schedule inspections, record results in the field, and export reports when you're done. This article walks through how to create, manage, and complete inspections from start to finish.
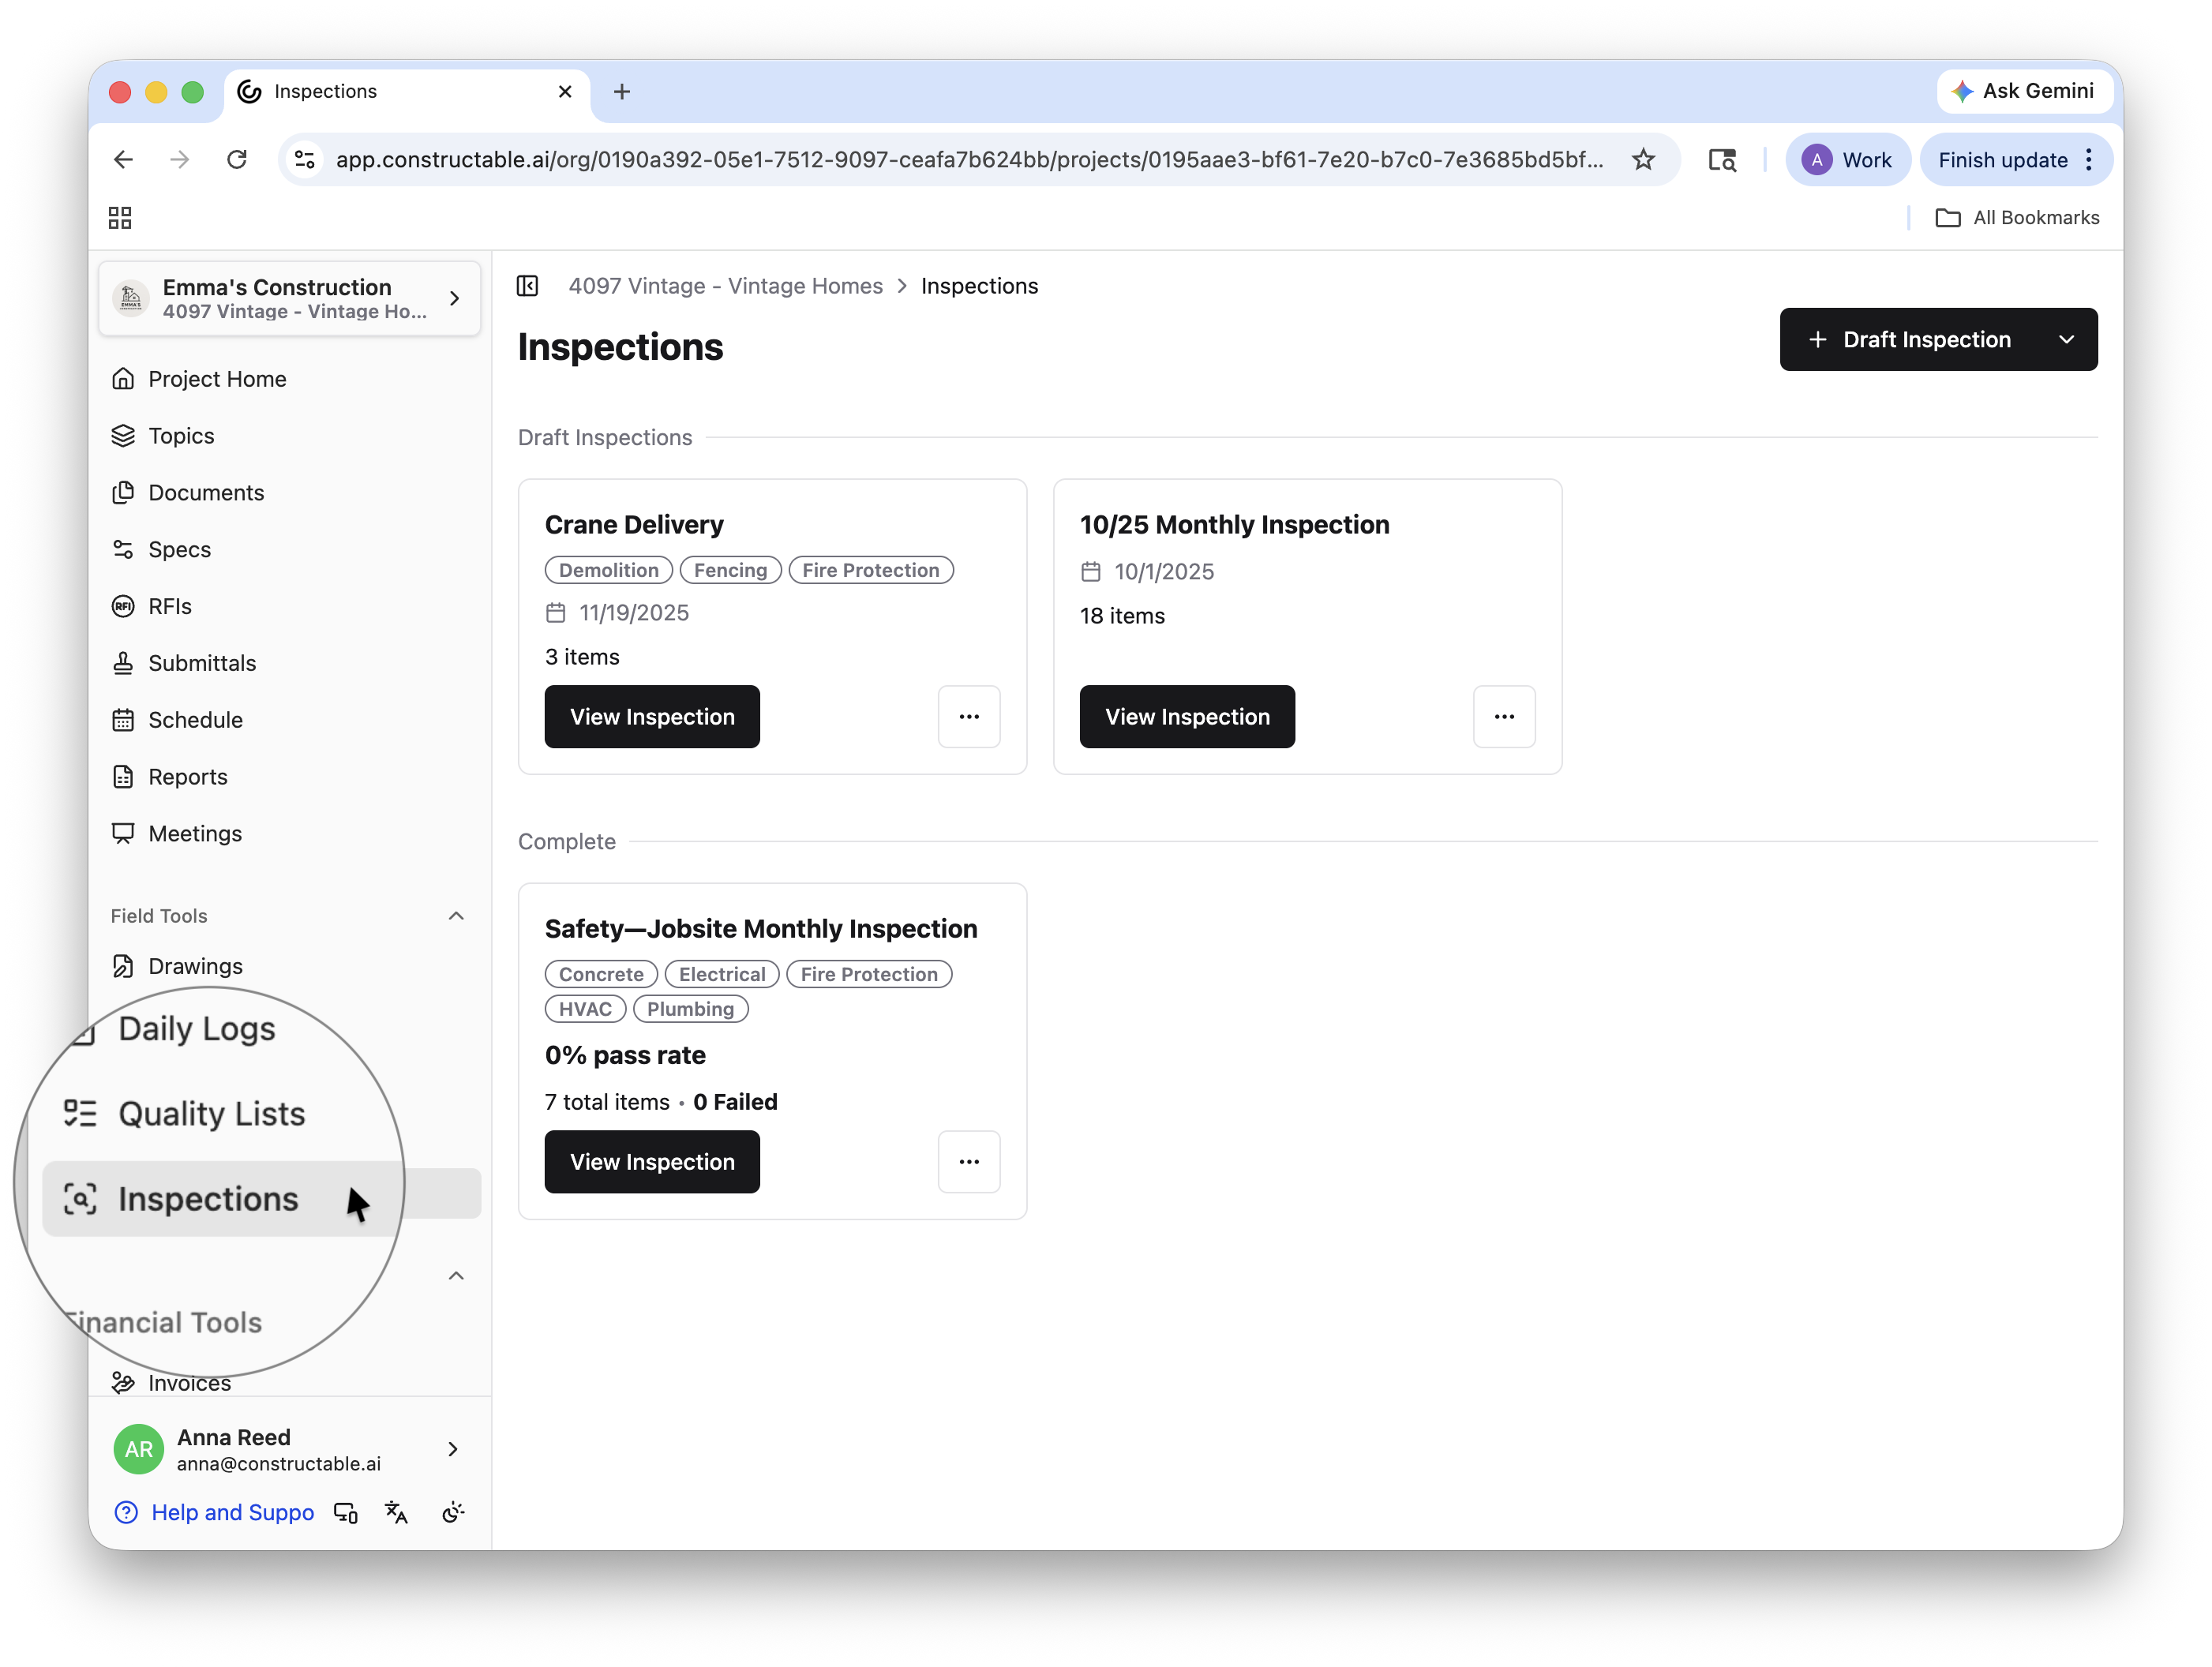
Creating a New Inspection
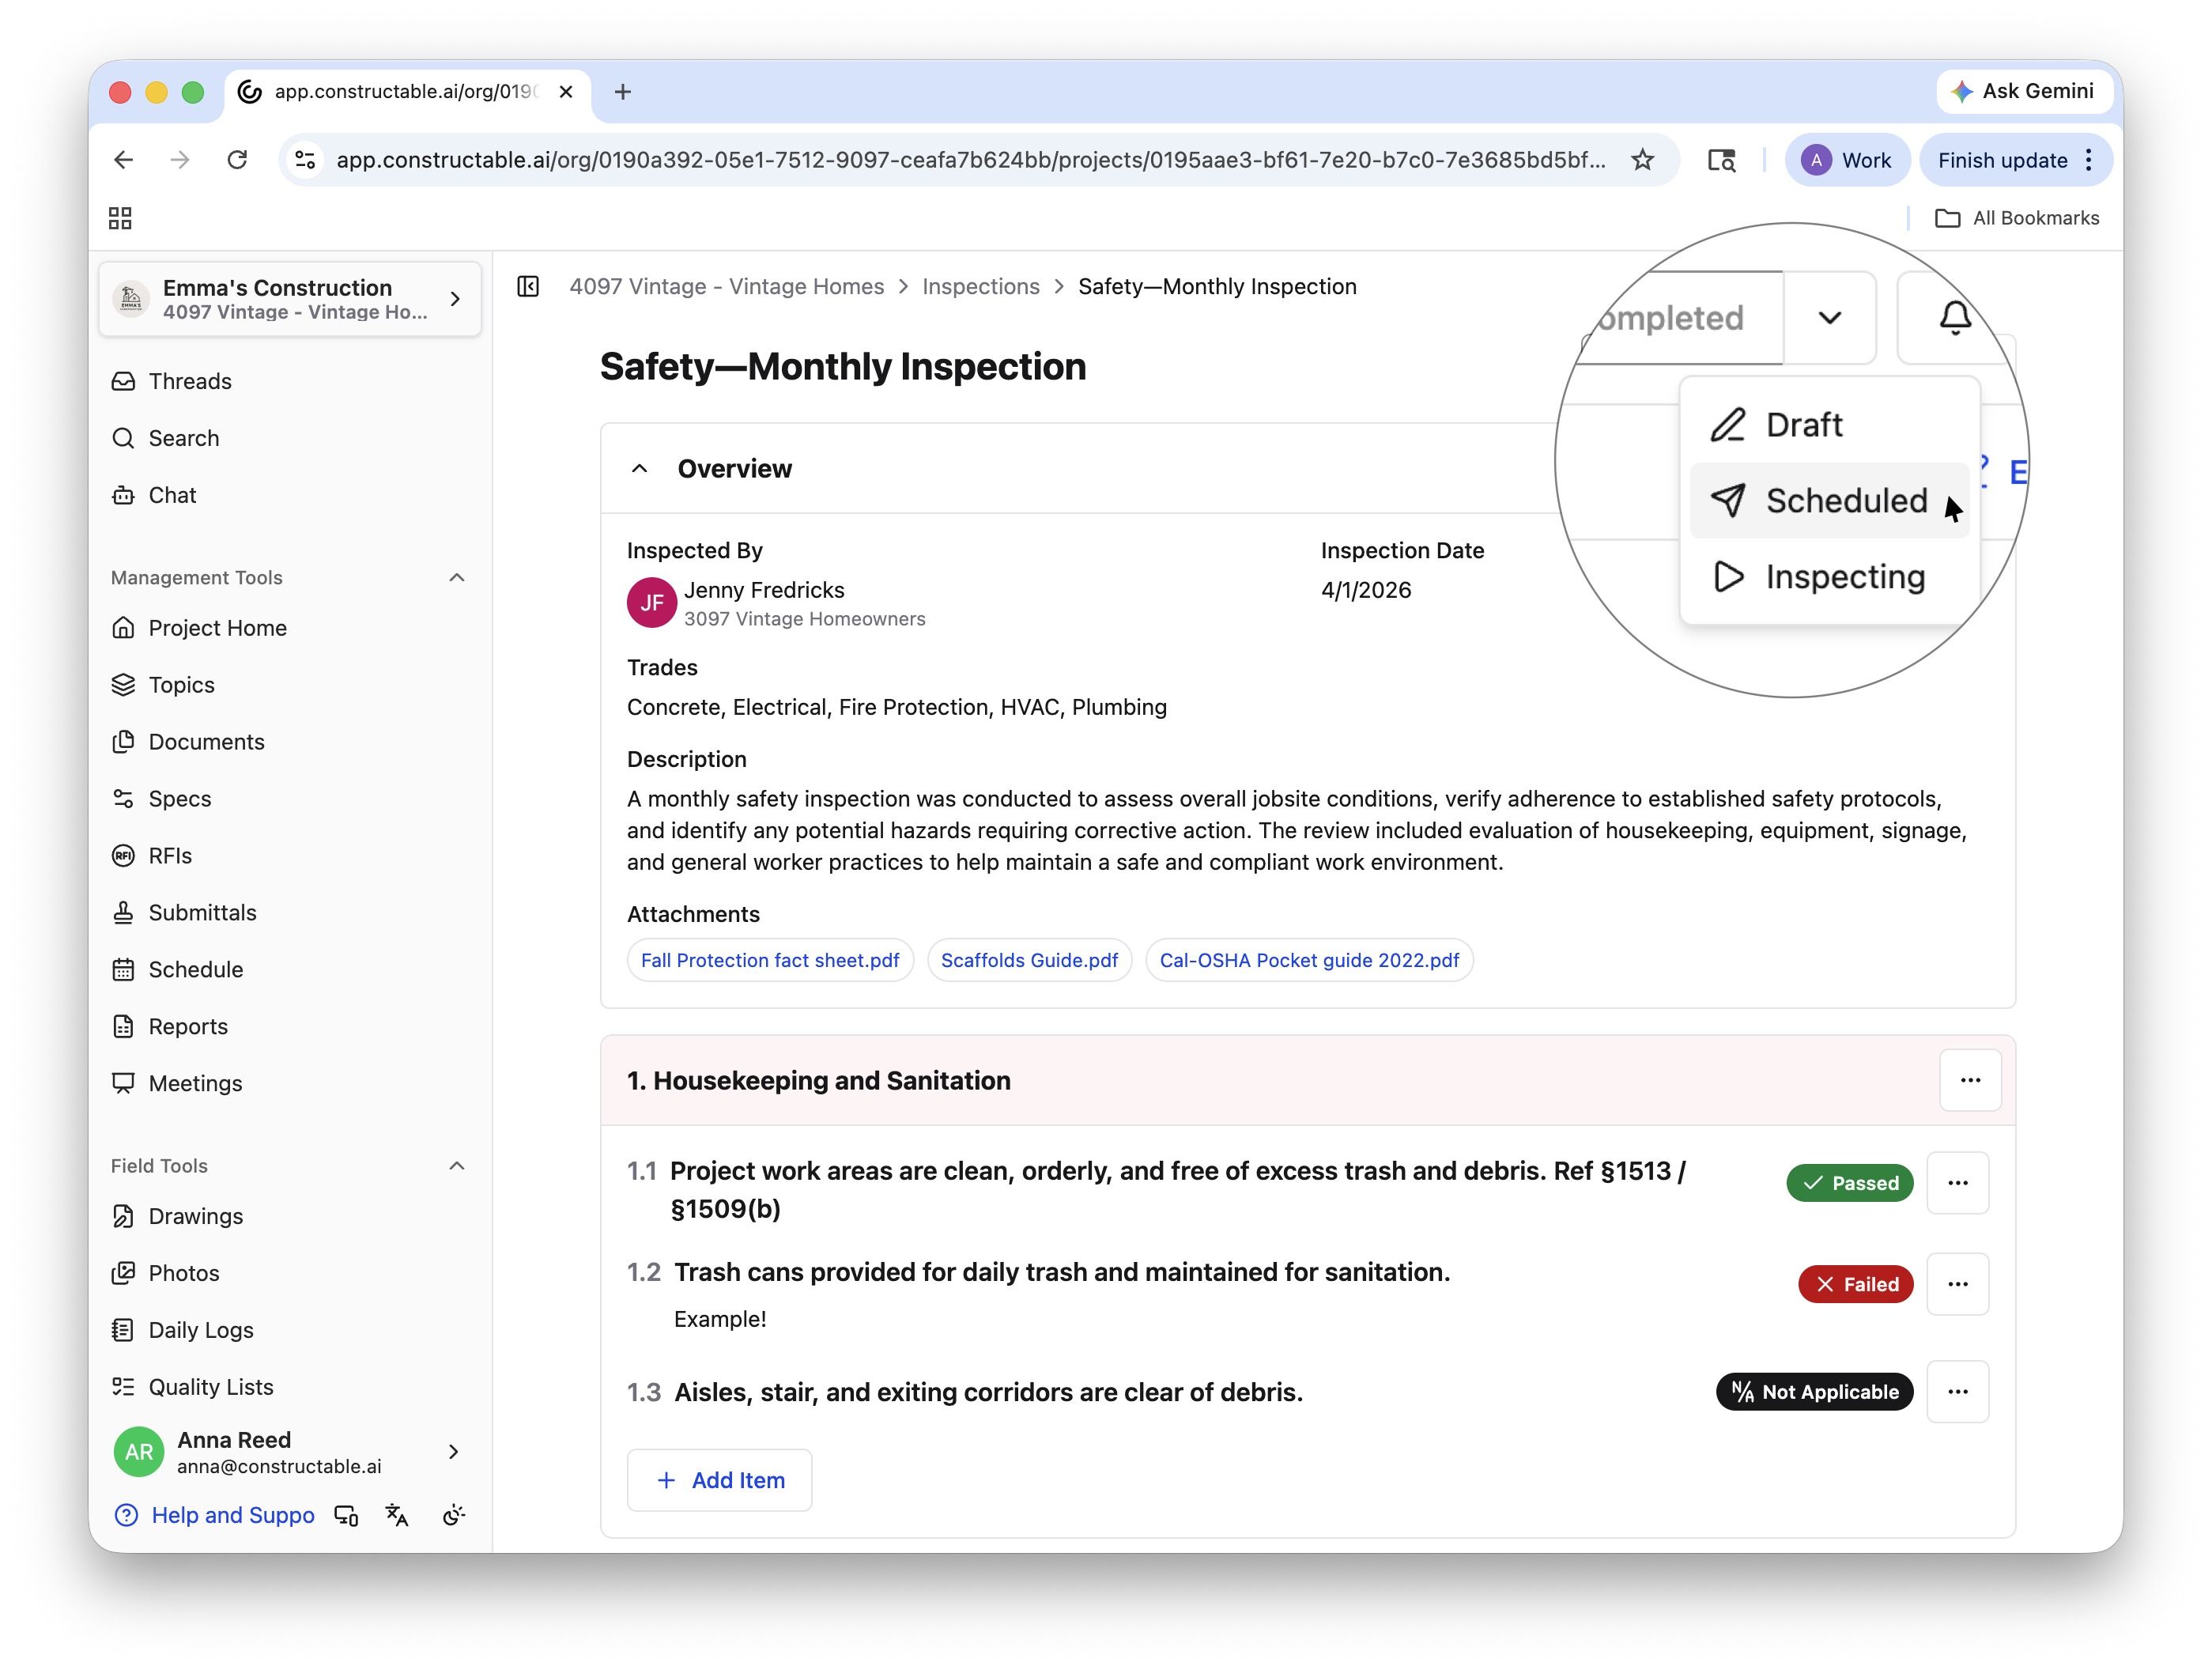
To create an entirely new inspection, select + Draft Inspection in the upper-right corner of the screen. Title the new inspection (this can be changed later), and click Save. The typical workflow for an inspection is: Draft > Scheduled > Inspecting > Complete.
Draft
When you create a new inspection, it will default to draft mode. This allows you to add all of the important information to the inspection before it is scheduled. Only people within your organization can see the inspections you create.
To add overview information on the inspection, click Edit and include who will be doing the inspection, what day it will happen, the relevant trade(s), a description, and any relevant attachments.
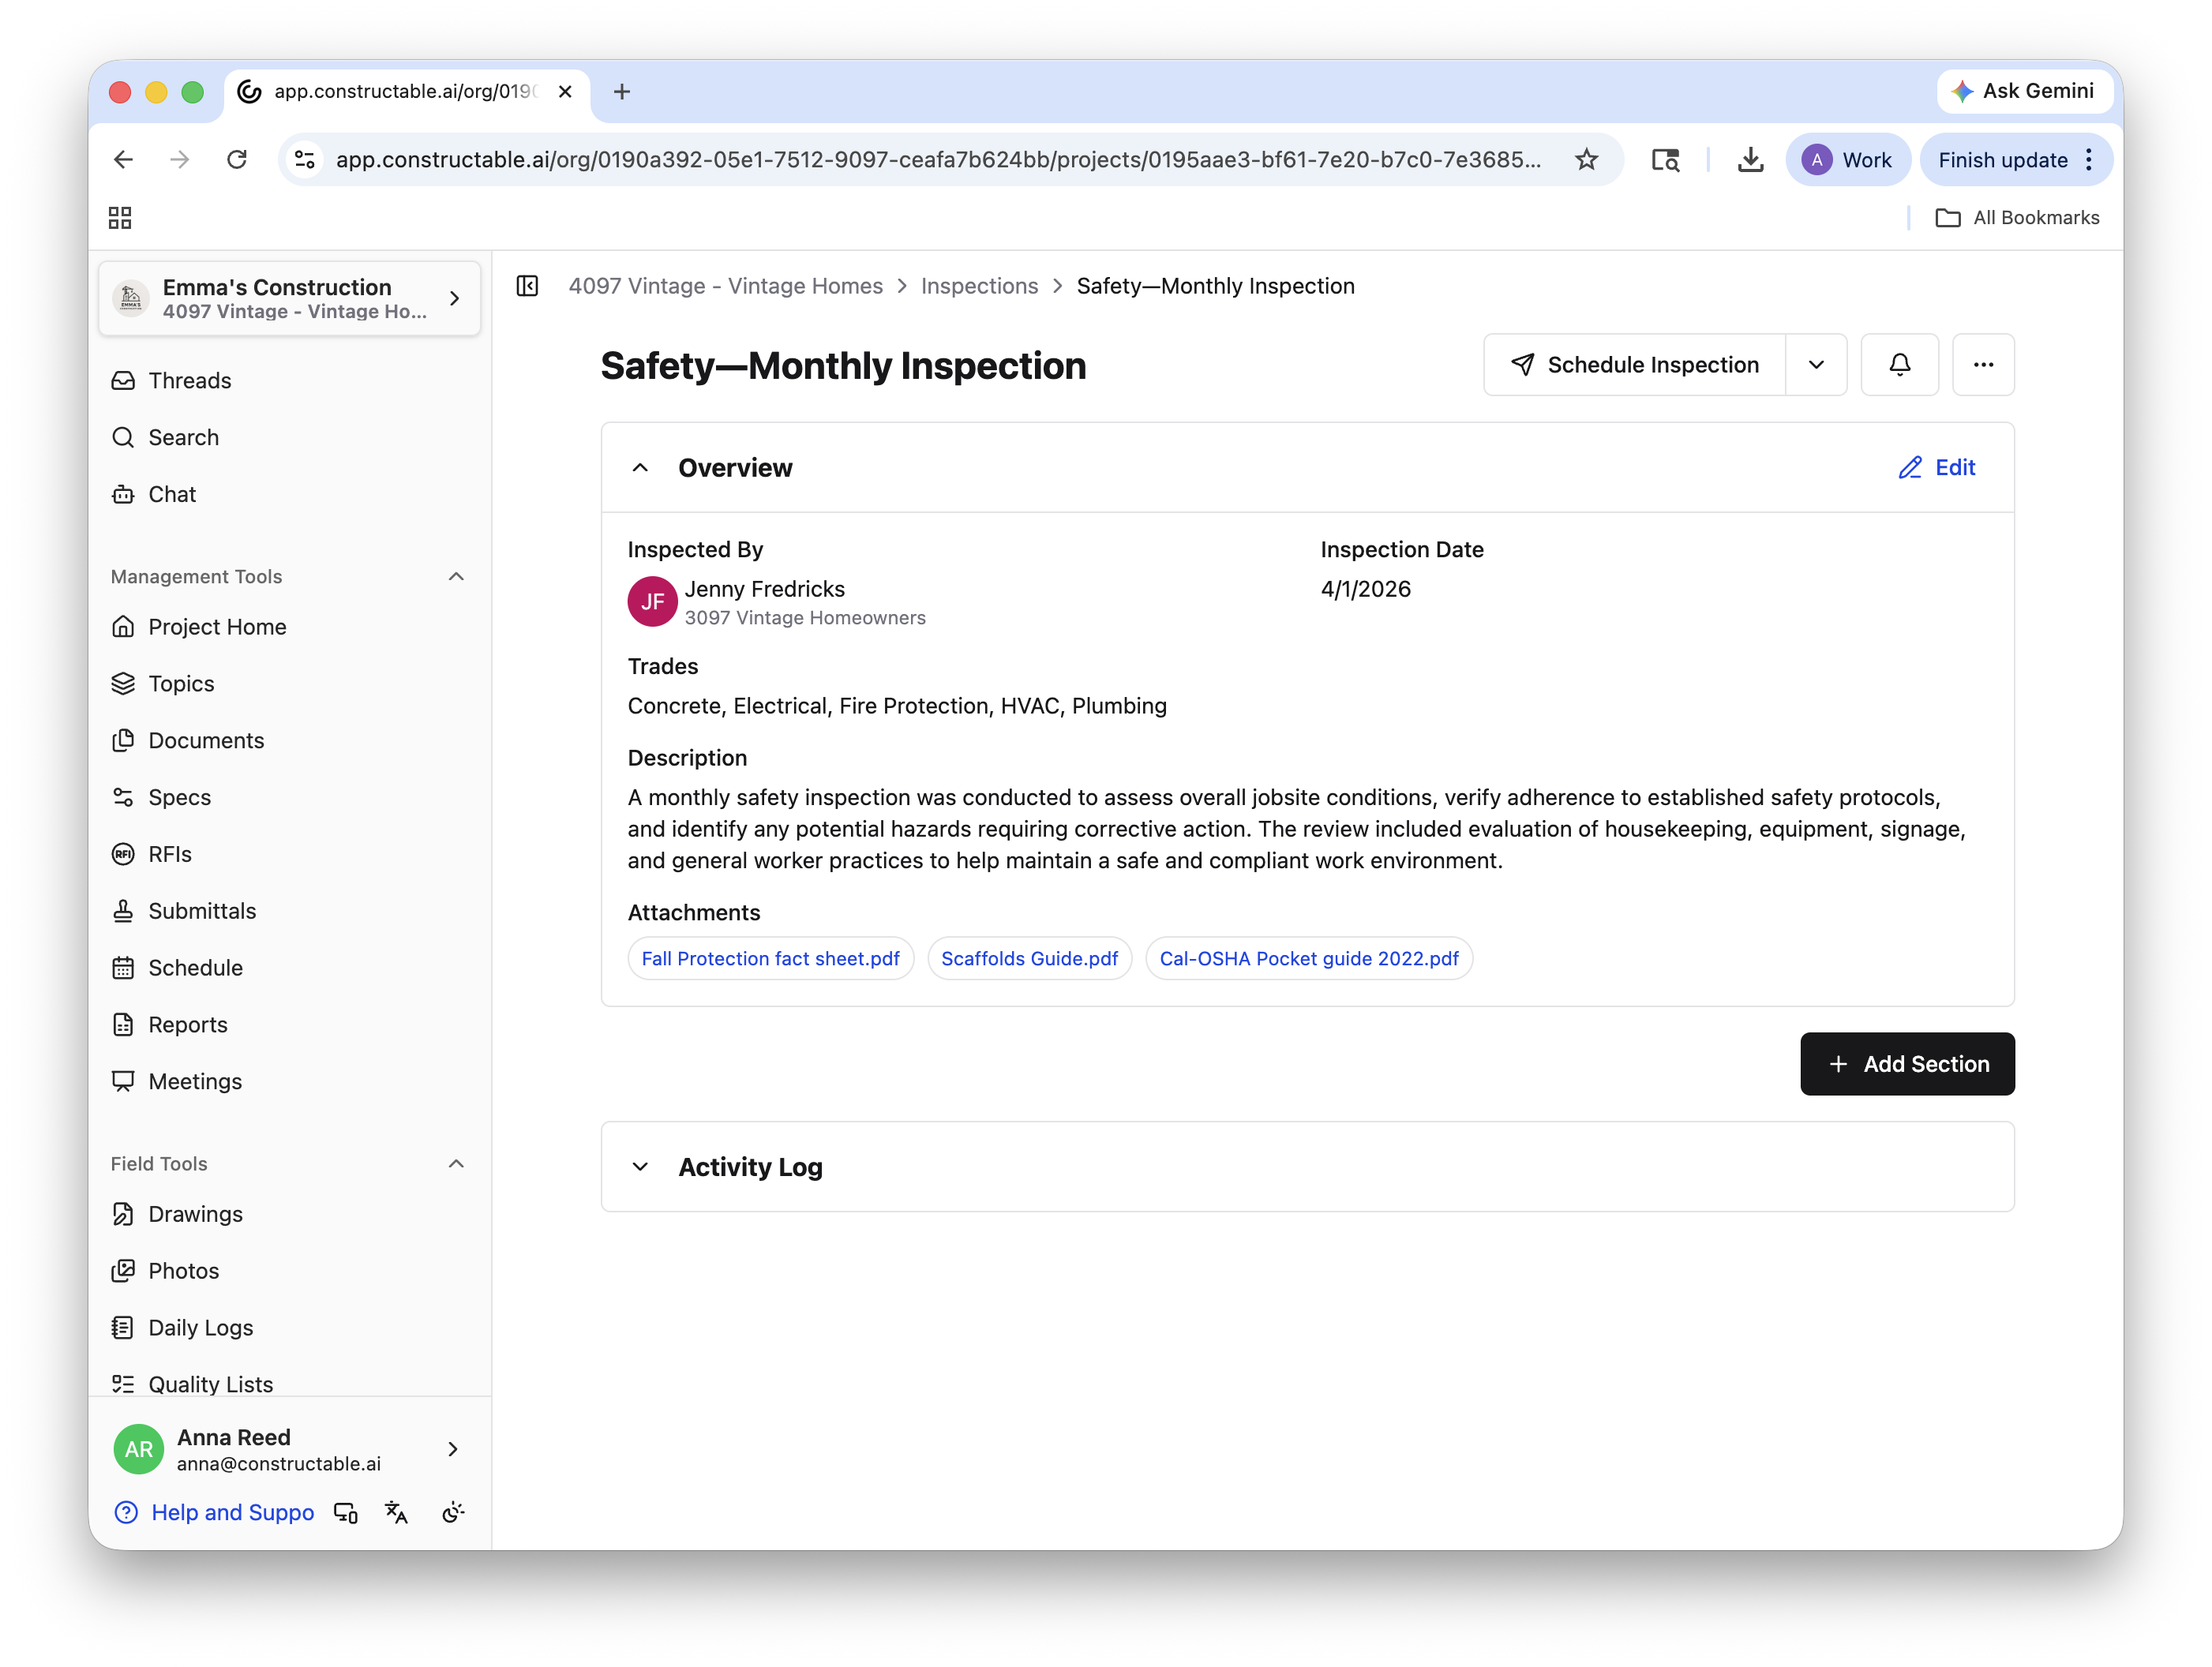
From there, click + Add Section to outline the inspection specifics, including inspection items. Don't forget to Save Section/Item!
You can make changes to any section or item by clicking on the corresponding 3 dots; from here, you can edit, add an item, move up or down, or delete.
Note: If you move a section/item up or down, the numbering will automatically update to reflect the new order.
Scheduled
Once you have all your sections and items filled out, you're ready to Schedule Inspection (the button is located in the upper-right corner of the page). This is where your inspection will live while you wait for the inspection date.
Note: The only real difference between a completed draft inspection and a scheduled inspection is that they live in separate segments of the home Inspections page.
Inspecting
When the inspection date rolls around, you're ready to begin! Simply click Start Inspecting, then go down the list, with the option to mark each item as pass, fail, or not applicable. If something fails, the inspector can include observations and relevant attachments to ensure everyone is working with the most information possible.
Complete
Once each item has been inspected, go to the top of the page and click Complete Inspection. Once an inspection is completed, it will move to its own section on the home page, with the pass rate and number of failed items available for quick viewing.
Note: While the traditional workflow for Inspections is Draft > Scheduled > Inspecting > Complete, the stage of progression can be changed at any time by clicking the dropdown menu at the top of the screen and selecting the desired stage.
Other Actions
Individual inspections are available for download as PDFs by clicking the 3 dots that appear in the upper-right corner of the selected inspection. Select Export to PDF, and all information, including attachments and the individual items, will be included in the PDF download.
Also available from the same menu is the option to Rename / Duplicate / Delete Inspection. These action items are also available from the home Inspections page.
Pro Tip: If you run the same monthly or weekly inspections (e.g. safety inspections), Duplicate the previous month's inspection to avoid retyping every section and item. This will only duplicate the outline, not the inspection outcome itself.
Another helpful shortcut if you're running an entirely new project is to import inspections from an existing one. Select the dropdown menu on the home page and choose Import from Project. Pick the chosen project, then click Import.
This will import all inspections from the chosen project as new drafts, including the inspection structure, sections, and items. It will not include any observations or attachments from the selected project. Once the import is complete, you can quickly make necessary edits to apply the drafted inspections to the current project.
With your inspections all set up, you can consistently run and manage them across projects with minimal effort!
Frequently Asked Questions
Can I edit an inspection after it's been scheduled or started?
Yes. Inspections can be edited at any stage, including after they’ve been scheduled or while they’re in progress.
Who can see inspections?
Inspections are only visible to users within your organization.
What happens when I duplicate or import an inspection?
Duplicating or importing an inspection copies the structure (sections and items), but does not carry over any results, observations, or attachments.
Can I manually change the inspection stage?
Yes. While inspections typically follow Draft > Scheduled > Inspecting > Complete, you can manually change the stage at any time using the dropdown at the top of the inspection.