Understanding Photos
Last updated: April 24, 2026
Overview
The Photos section provides a centralized location for you and your team to store and manage all project-related photos and videos. Create custom albums, upload unlimited photos and videos, and keep visual documentation organized throughout the life of the project. Media can be added from your computer or phone library, or directly from the mobile app, making it easy to capture and upload images and videos as work progresses.
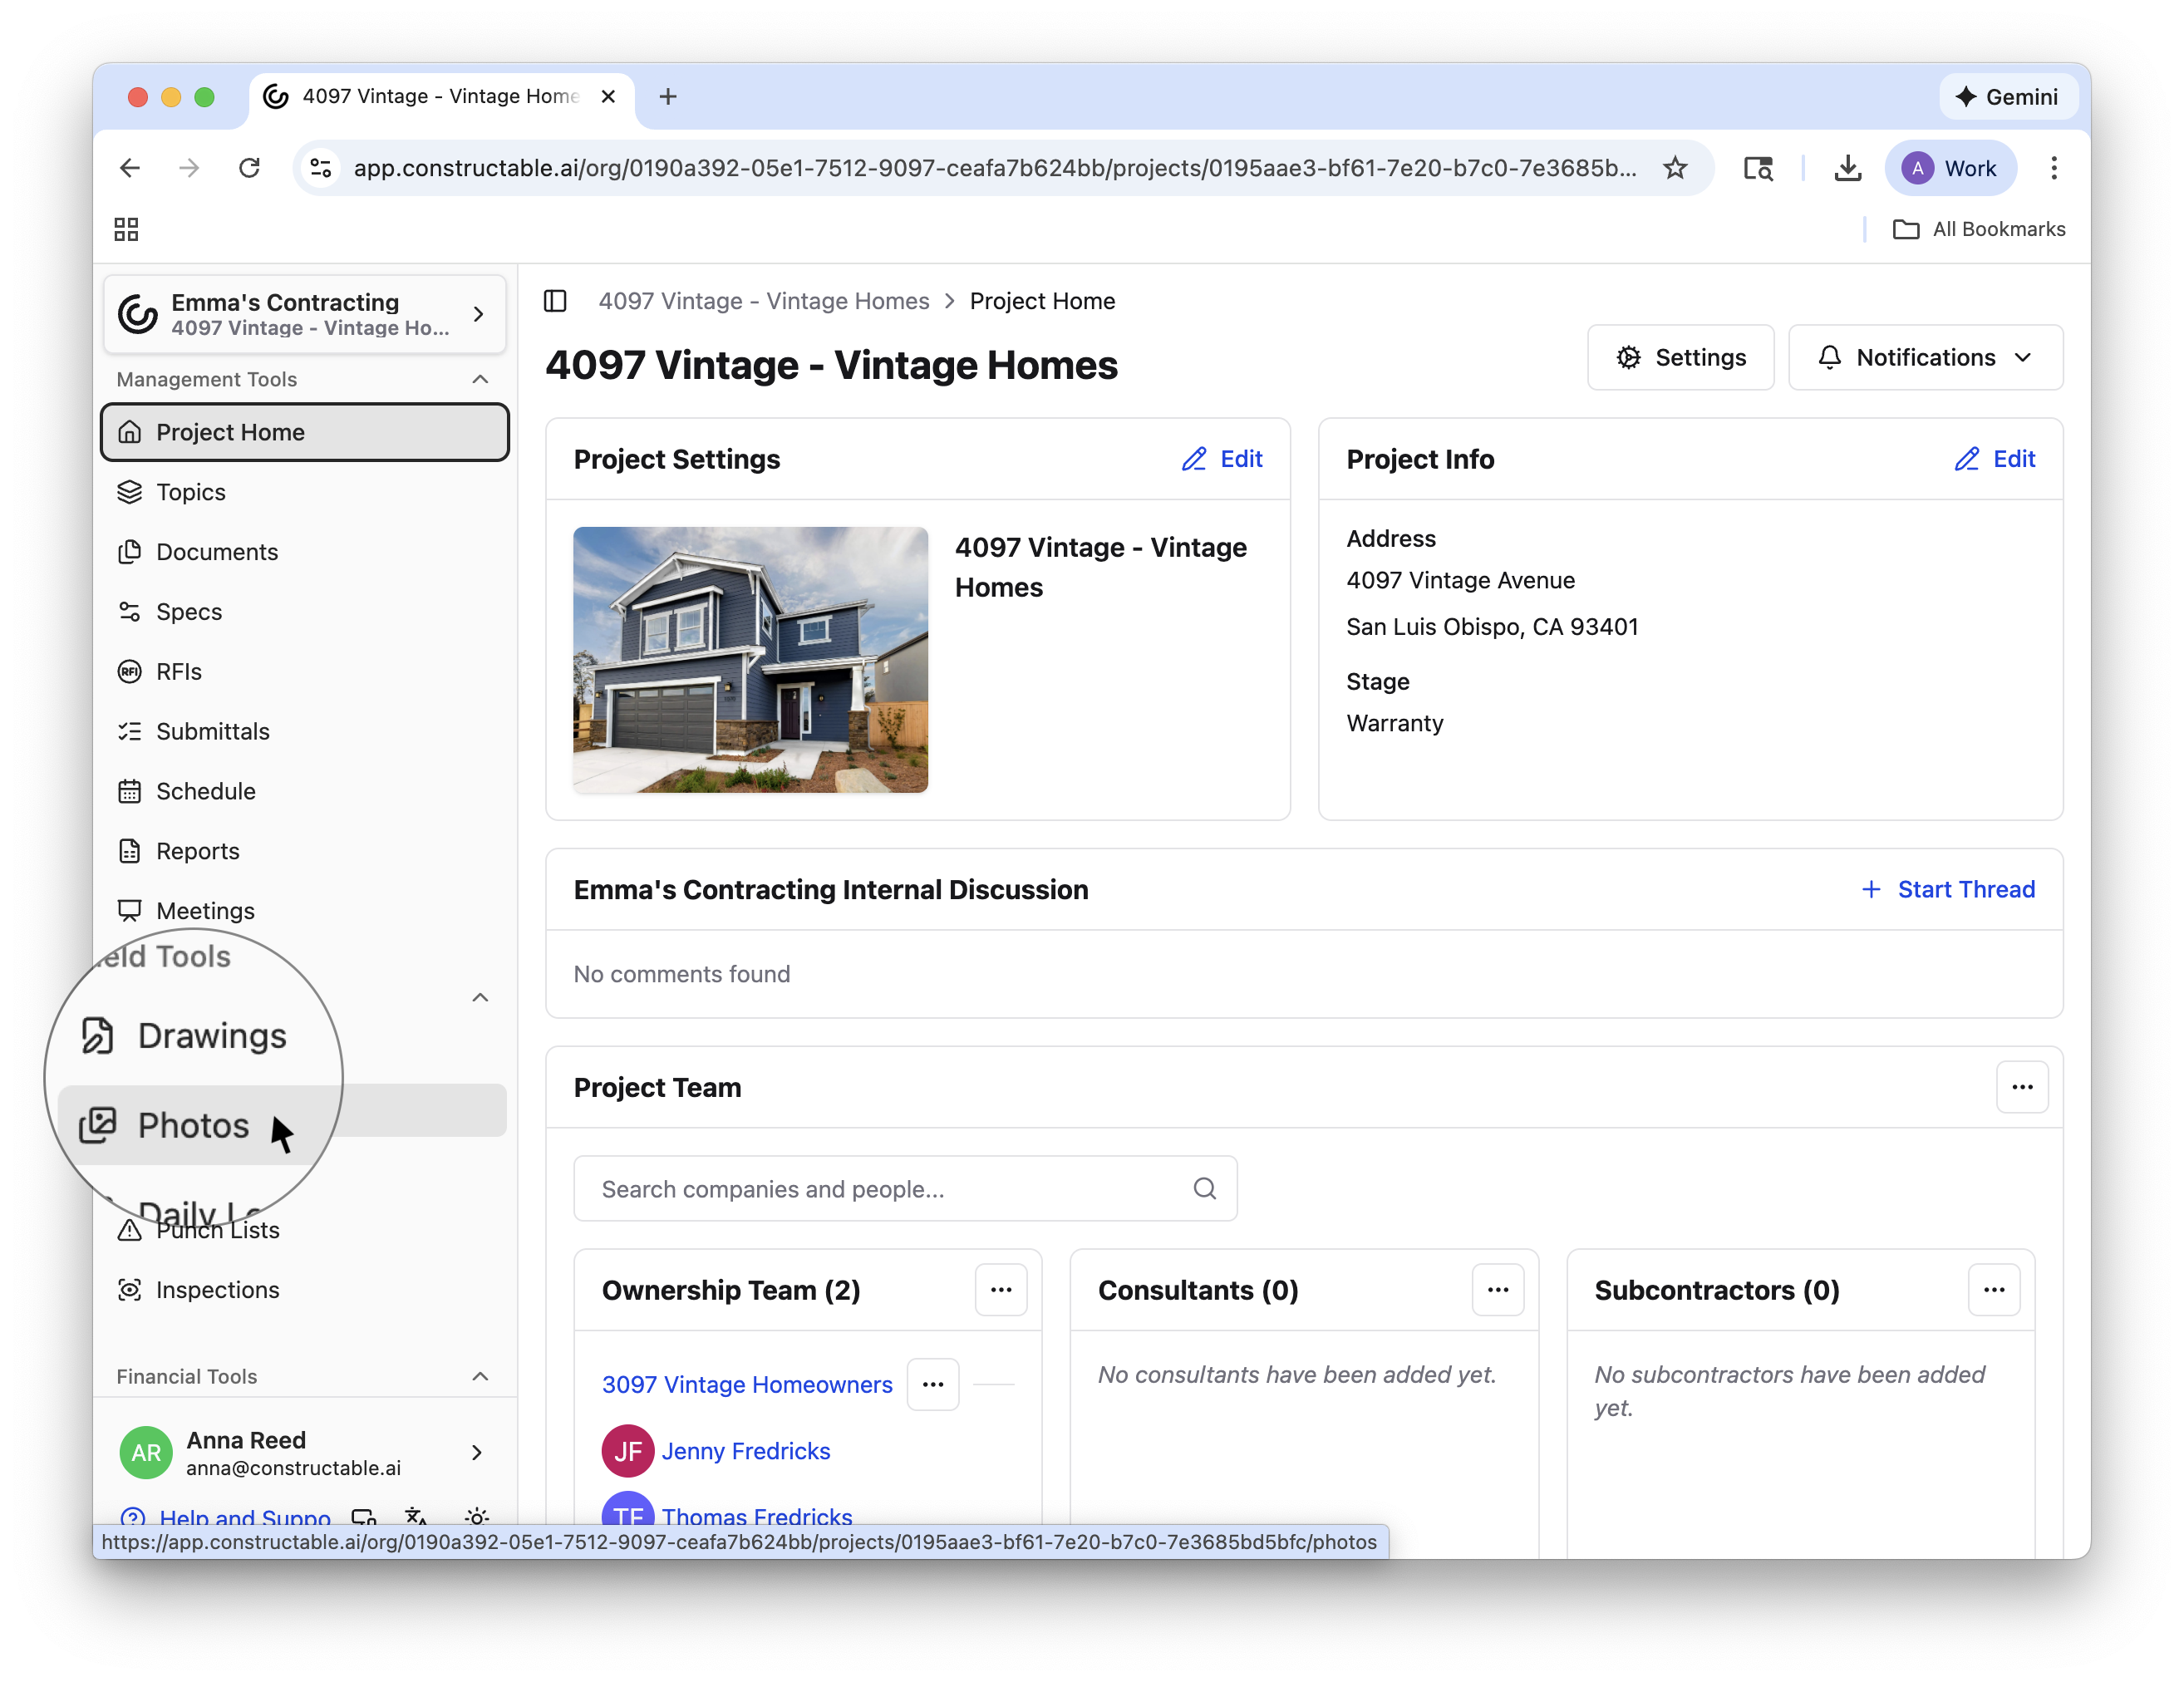
Uploading
All media must be added to an album. To start uploading, first select the + Album button, enter the title of your album, and then select Create Album. From there, navigate to the new album, then click + Add Photos. Choose or drag and drop files; it doesn’t matter what type. And that's it! Photos and videos will automatically upload and appear in the album.
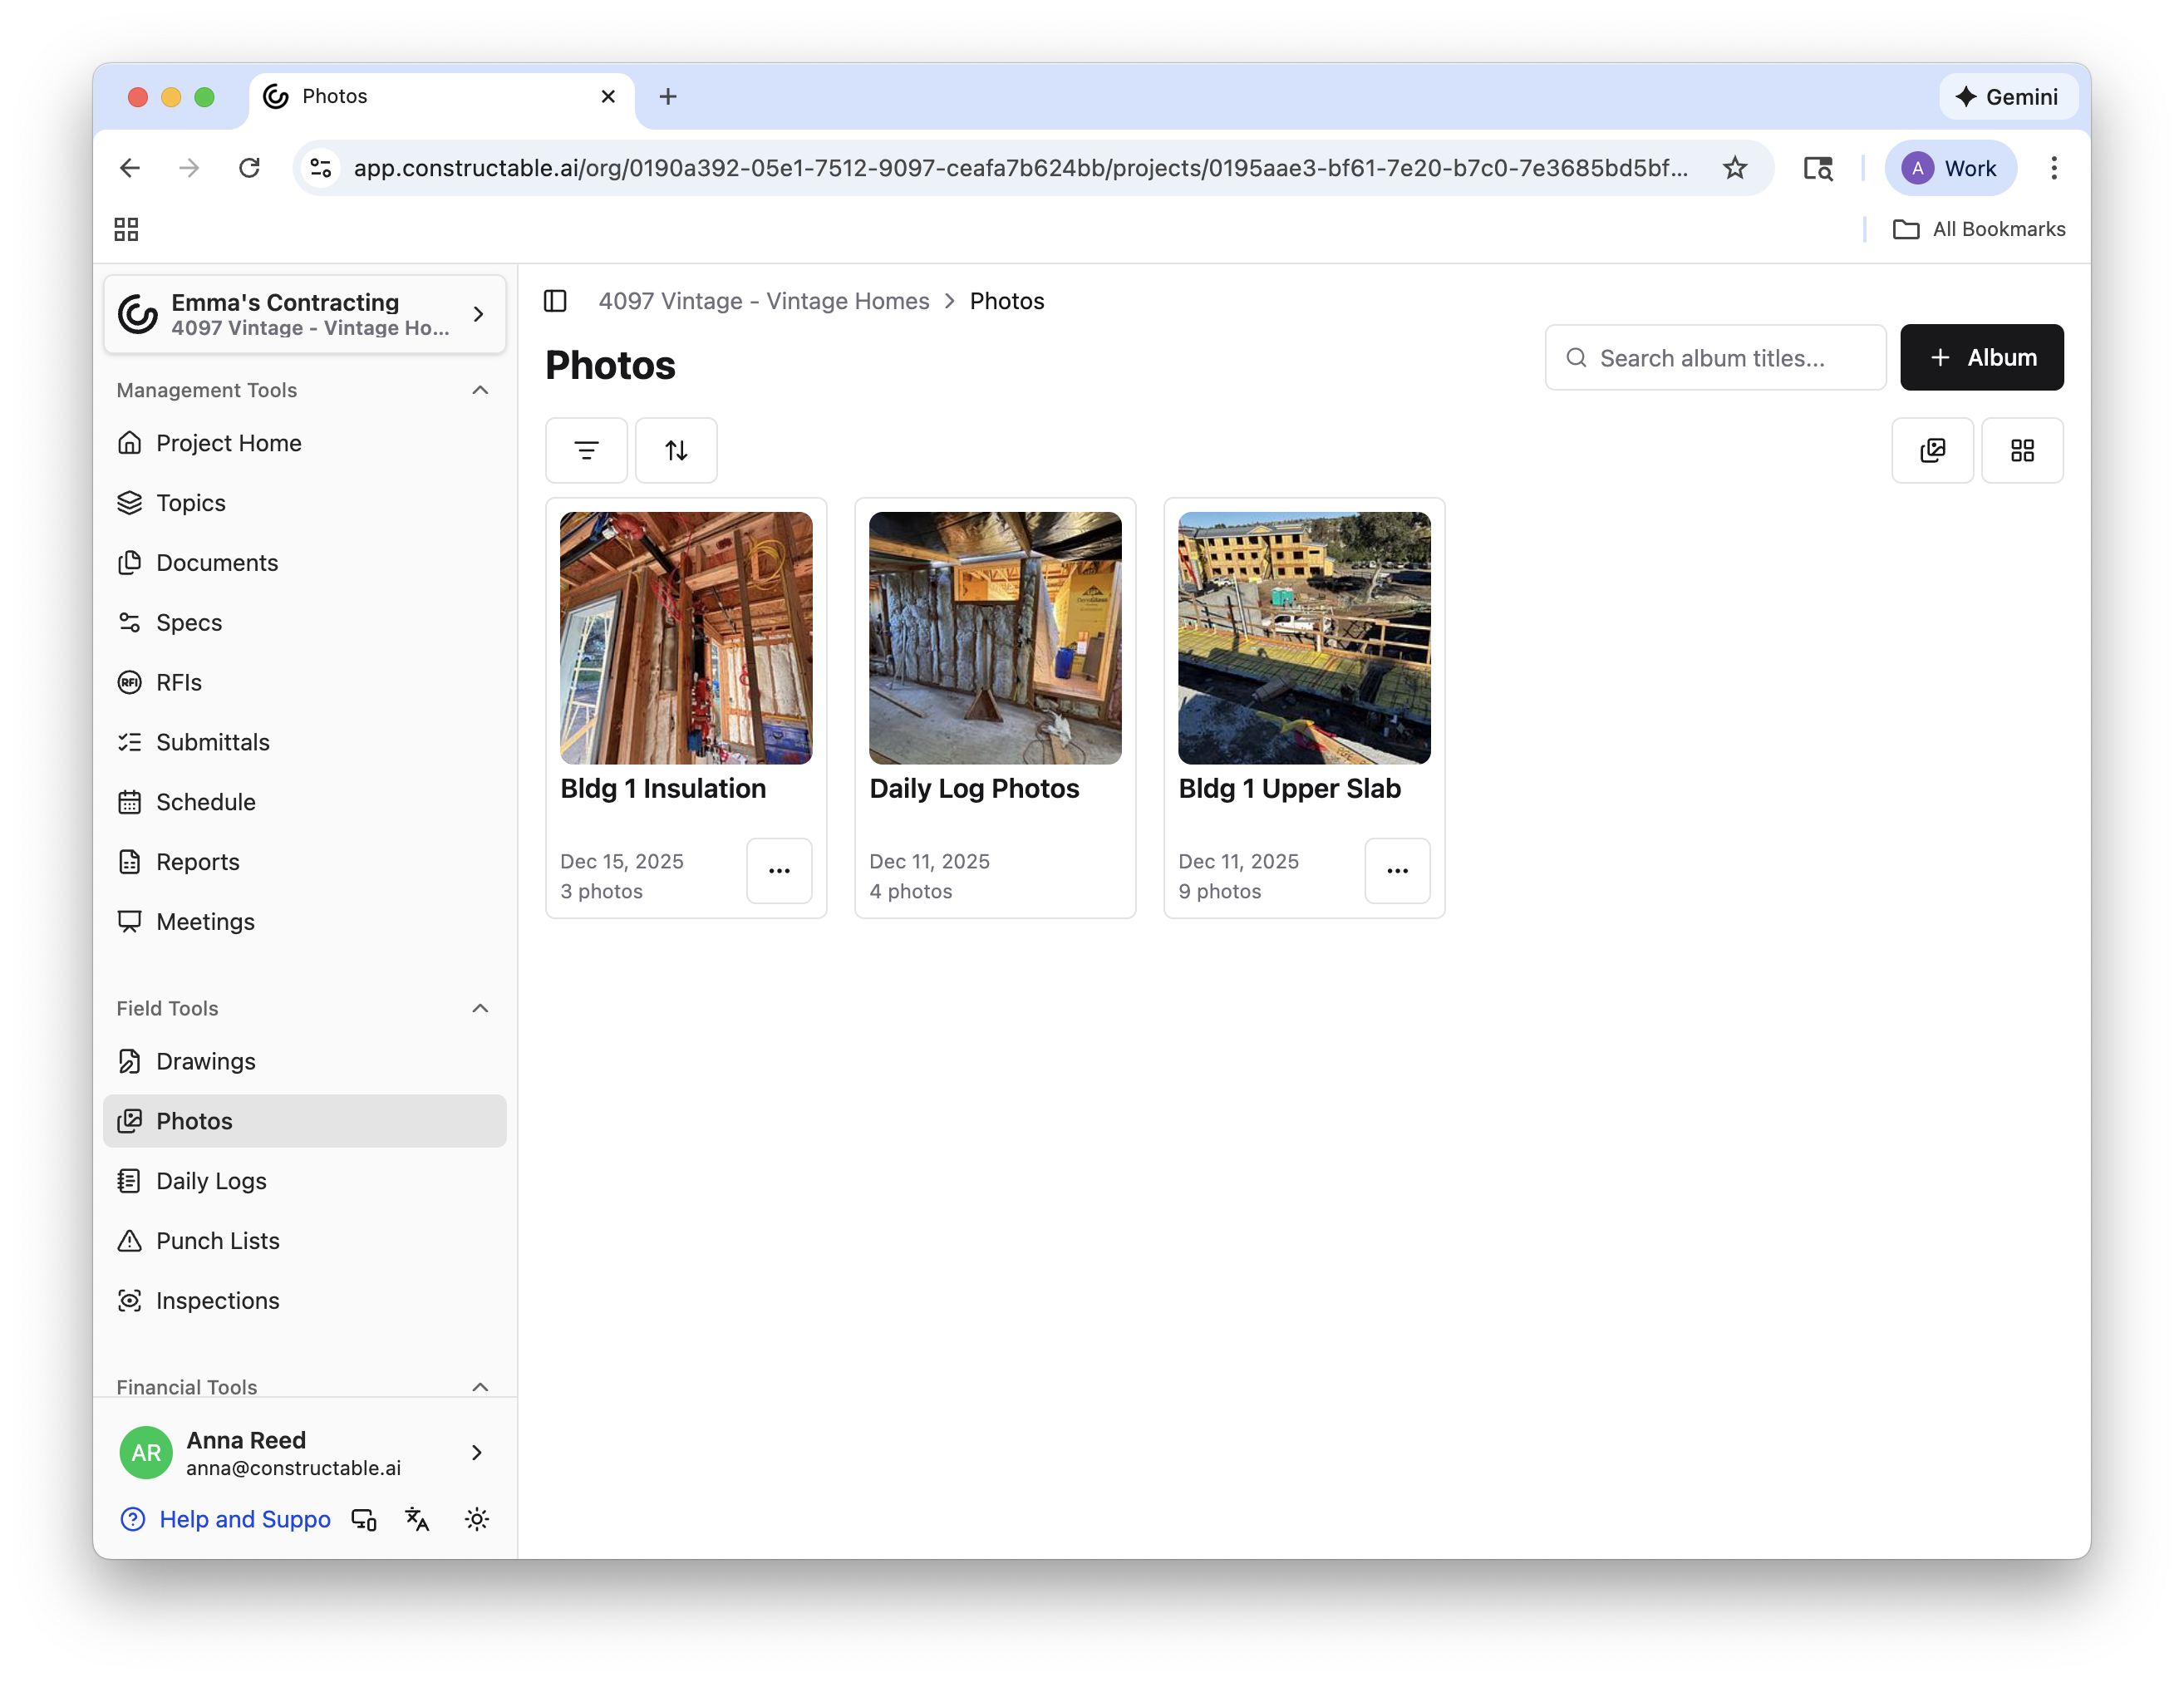
To see an upload up close, simply click on it. From there, you can easily navigate to other photos or videos in the album by either clicking the arrows to the left and right or by using your arrow keys.
Note: The only exception to these instructions is the Daily Log Photos album. The content in this album is automatically added when media is added to a Daily Log. To ensure the content in this album remains strictly relevant to the Daily Logs, you will not be able to add or delete the way you can with other albums.
For more information on Daily Logs, click here:📄 Using Daily Logs
Information
To view more details about an upload, click on it and select the Info button in the upper-right corner.
An up-close look at a single photo/video will provide you with a few key pieces of information: the first is when it was taken, and the second is when it was added to the album.
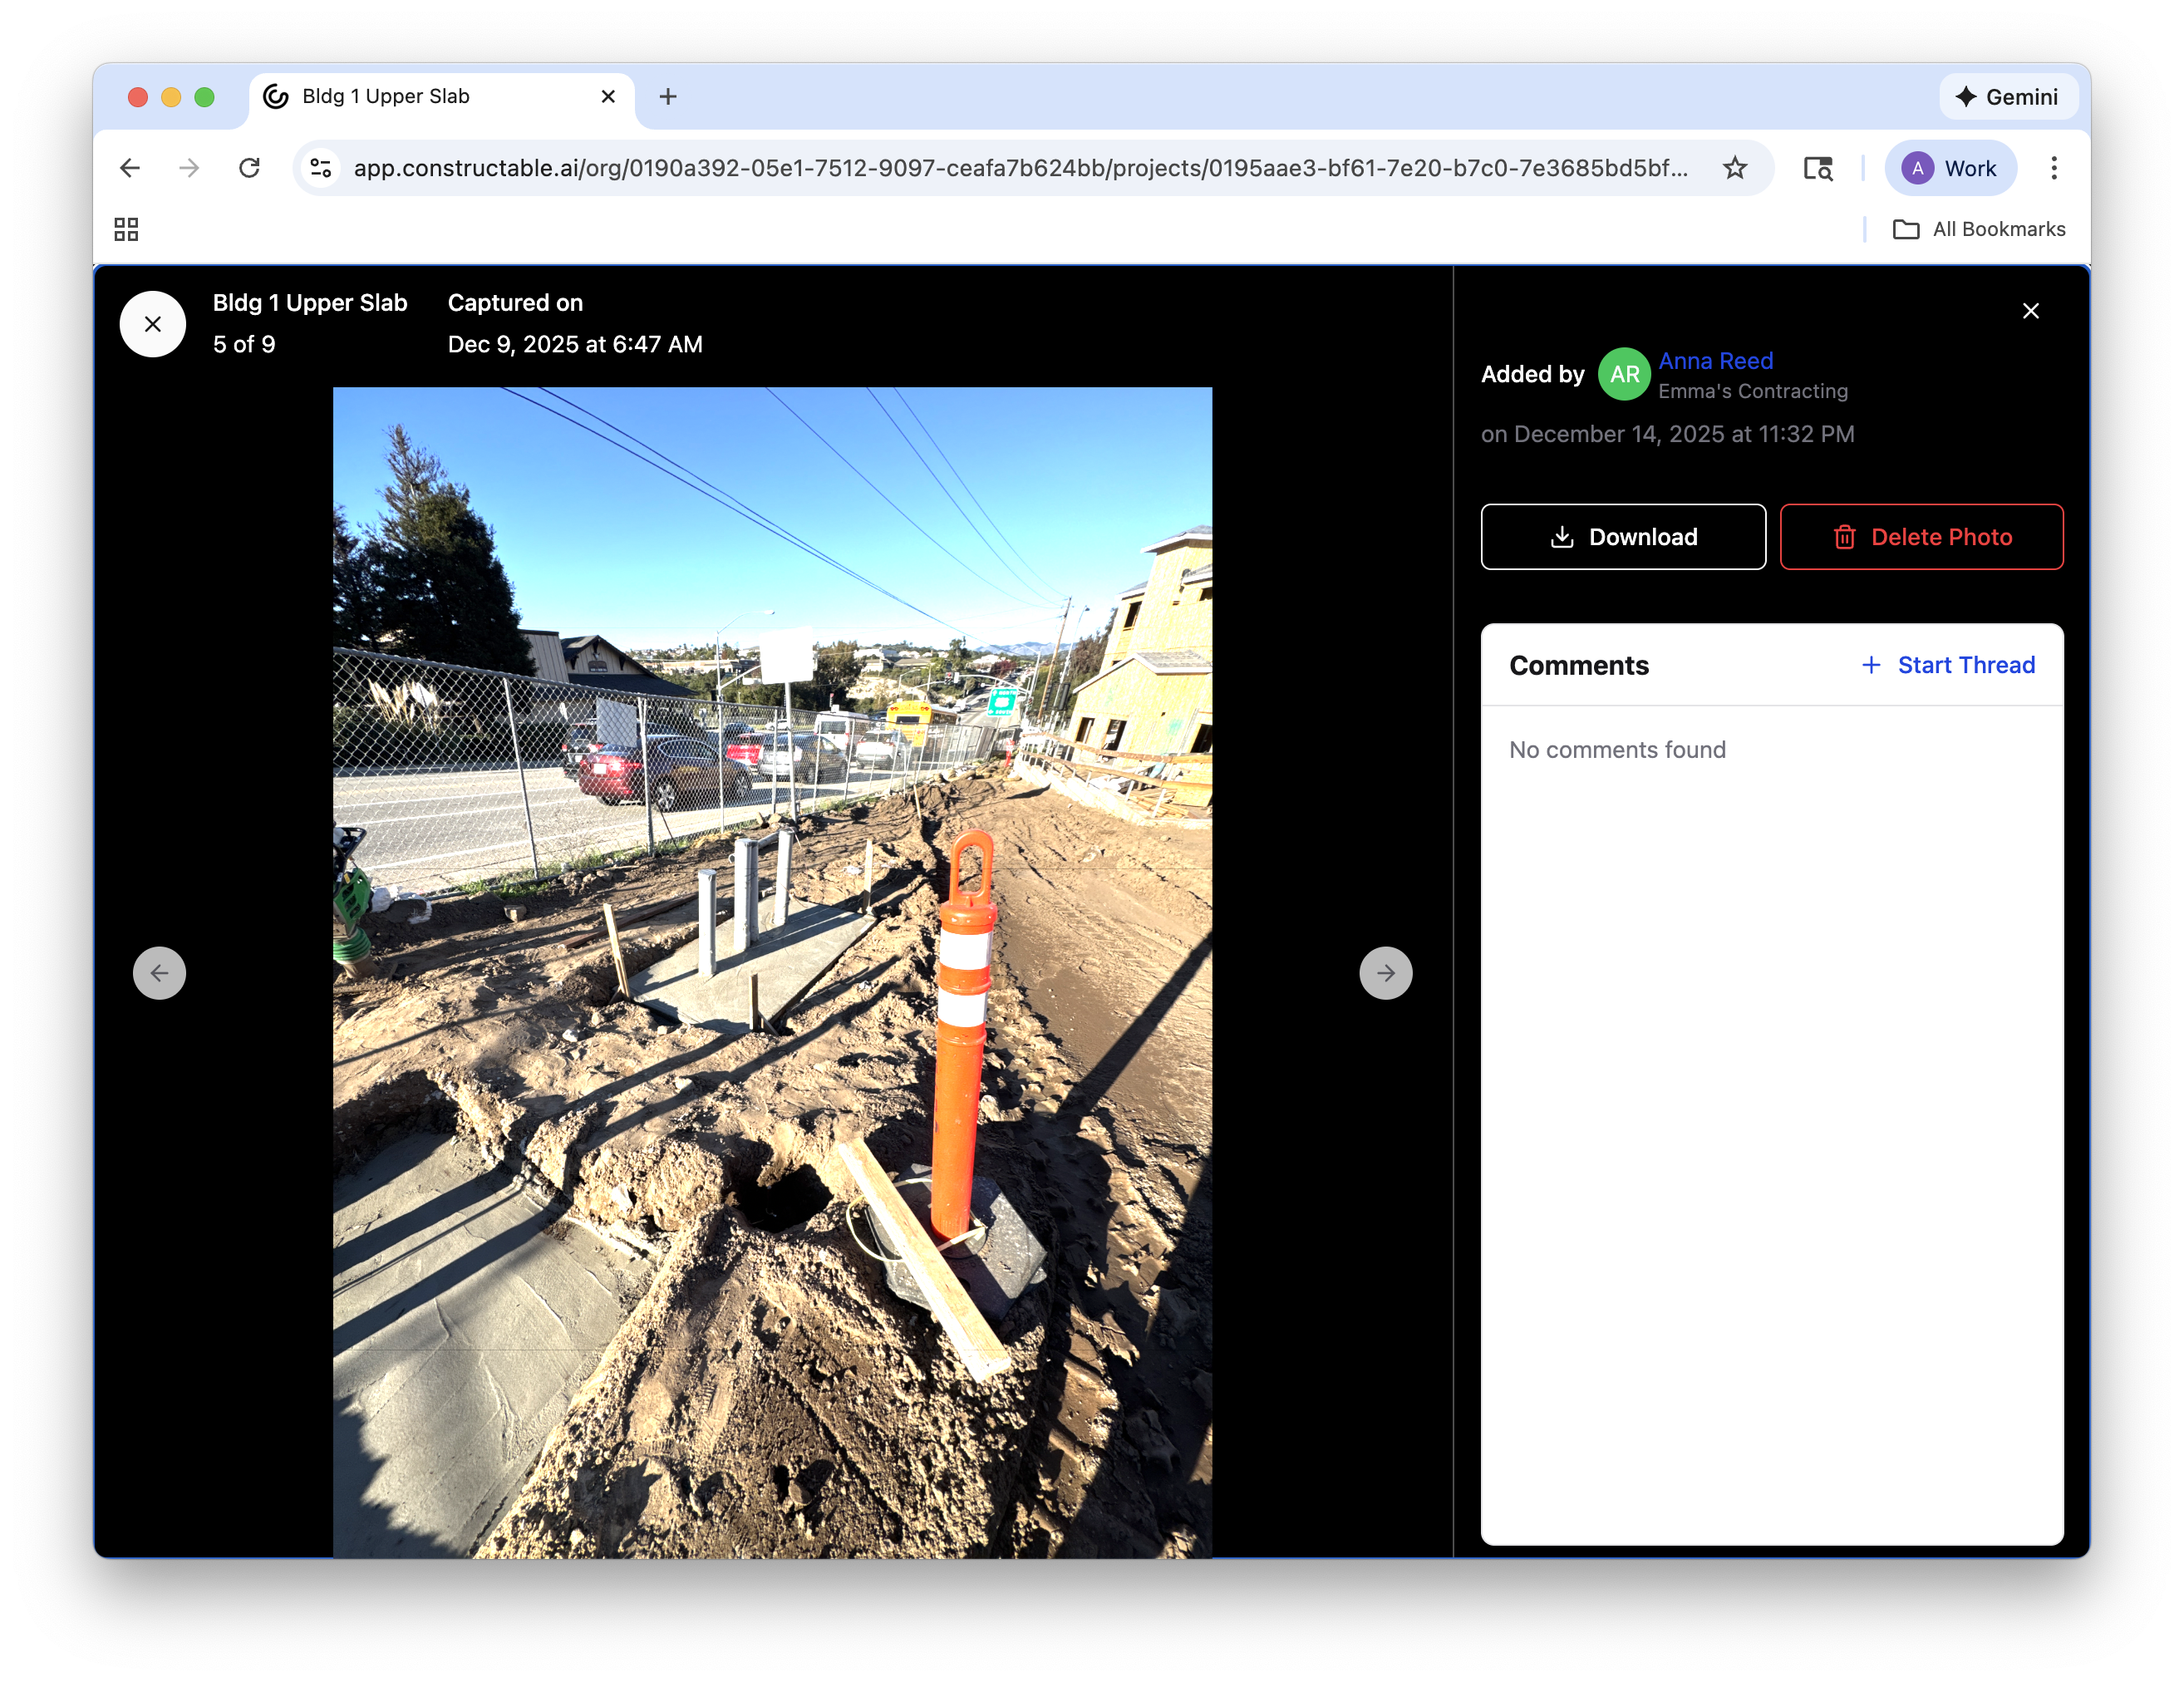
The upper-right corner will tell you who added the content to the album and the upload timestamp. Just below that is the option to Download or Delete Photo. See the timestamp in the upper-left.
Note: If the media's date and time are unclear, our system will only display the uploaded date and time. The timestamps are clearly labeled “Captured on” and “Uploaded on” to avoid confusion and will appear in the upper-left corner.
Commenting
Below the upload information is a textbox that allows those with access to comment on anything relevant. Click + Start Thread, add your comment or any other media you would like, and click Submit.
If you would like to tag someone on your team, you can @ them in a comment, and they will be notified.
Note: In addition to tagging users, you can also tag sheets from the Drawings section. To do this, type @, scroll down, and select from the available sheets. Once you leave a tagged comment, a hyperlink will appear that opens the Drawing in a new tab.
Sorting, Filtering, and Gallery View
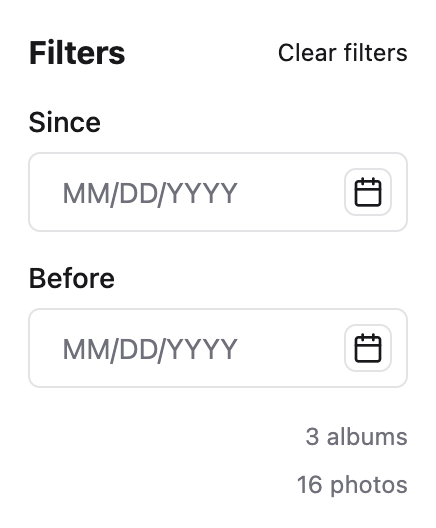
To reorder the Photos page, or an album, you can click this button to filter the album or media by date:
Or you can click this button to reorder from oldest to newest:
If you would prefer to see everything and don’t care as much about the albums, no worries! You can easily view a gallery of all content on the main Photos page by selecting the button in the upper-right corner with four squares. To view the albums again, simply click on the button just to the left.
Bulk Actions
If you’d like to edit, delete, or export multiple photos or videos from an album, open the album of interest, click Select, and select the media you want. When you click Select, the option to Download and Delete pops up. If you select the three dots next to the Delete button, you can choose Select All, Export to PDF, Copy to Album, or Move to Album.
Export to PDF
The selected content will be downloaded as a single PDF with the album name at the top, 4 photos per page (each timestamped), and the date the PDF was generated in the upper right corner of the first page.
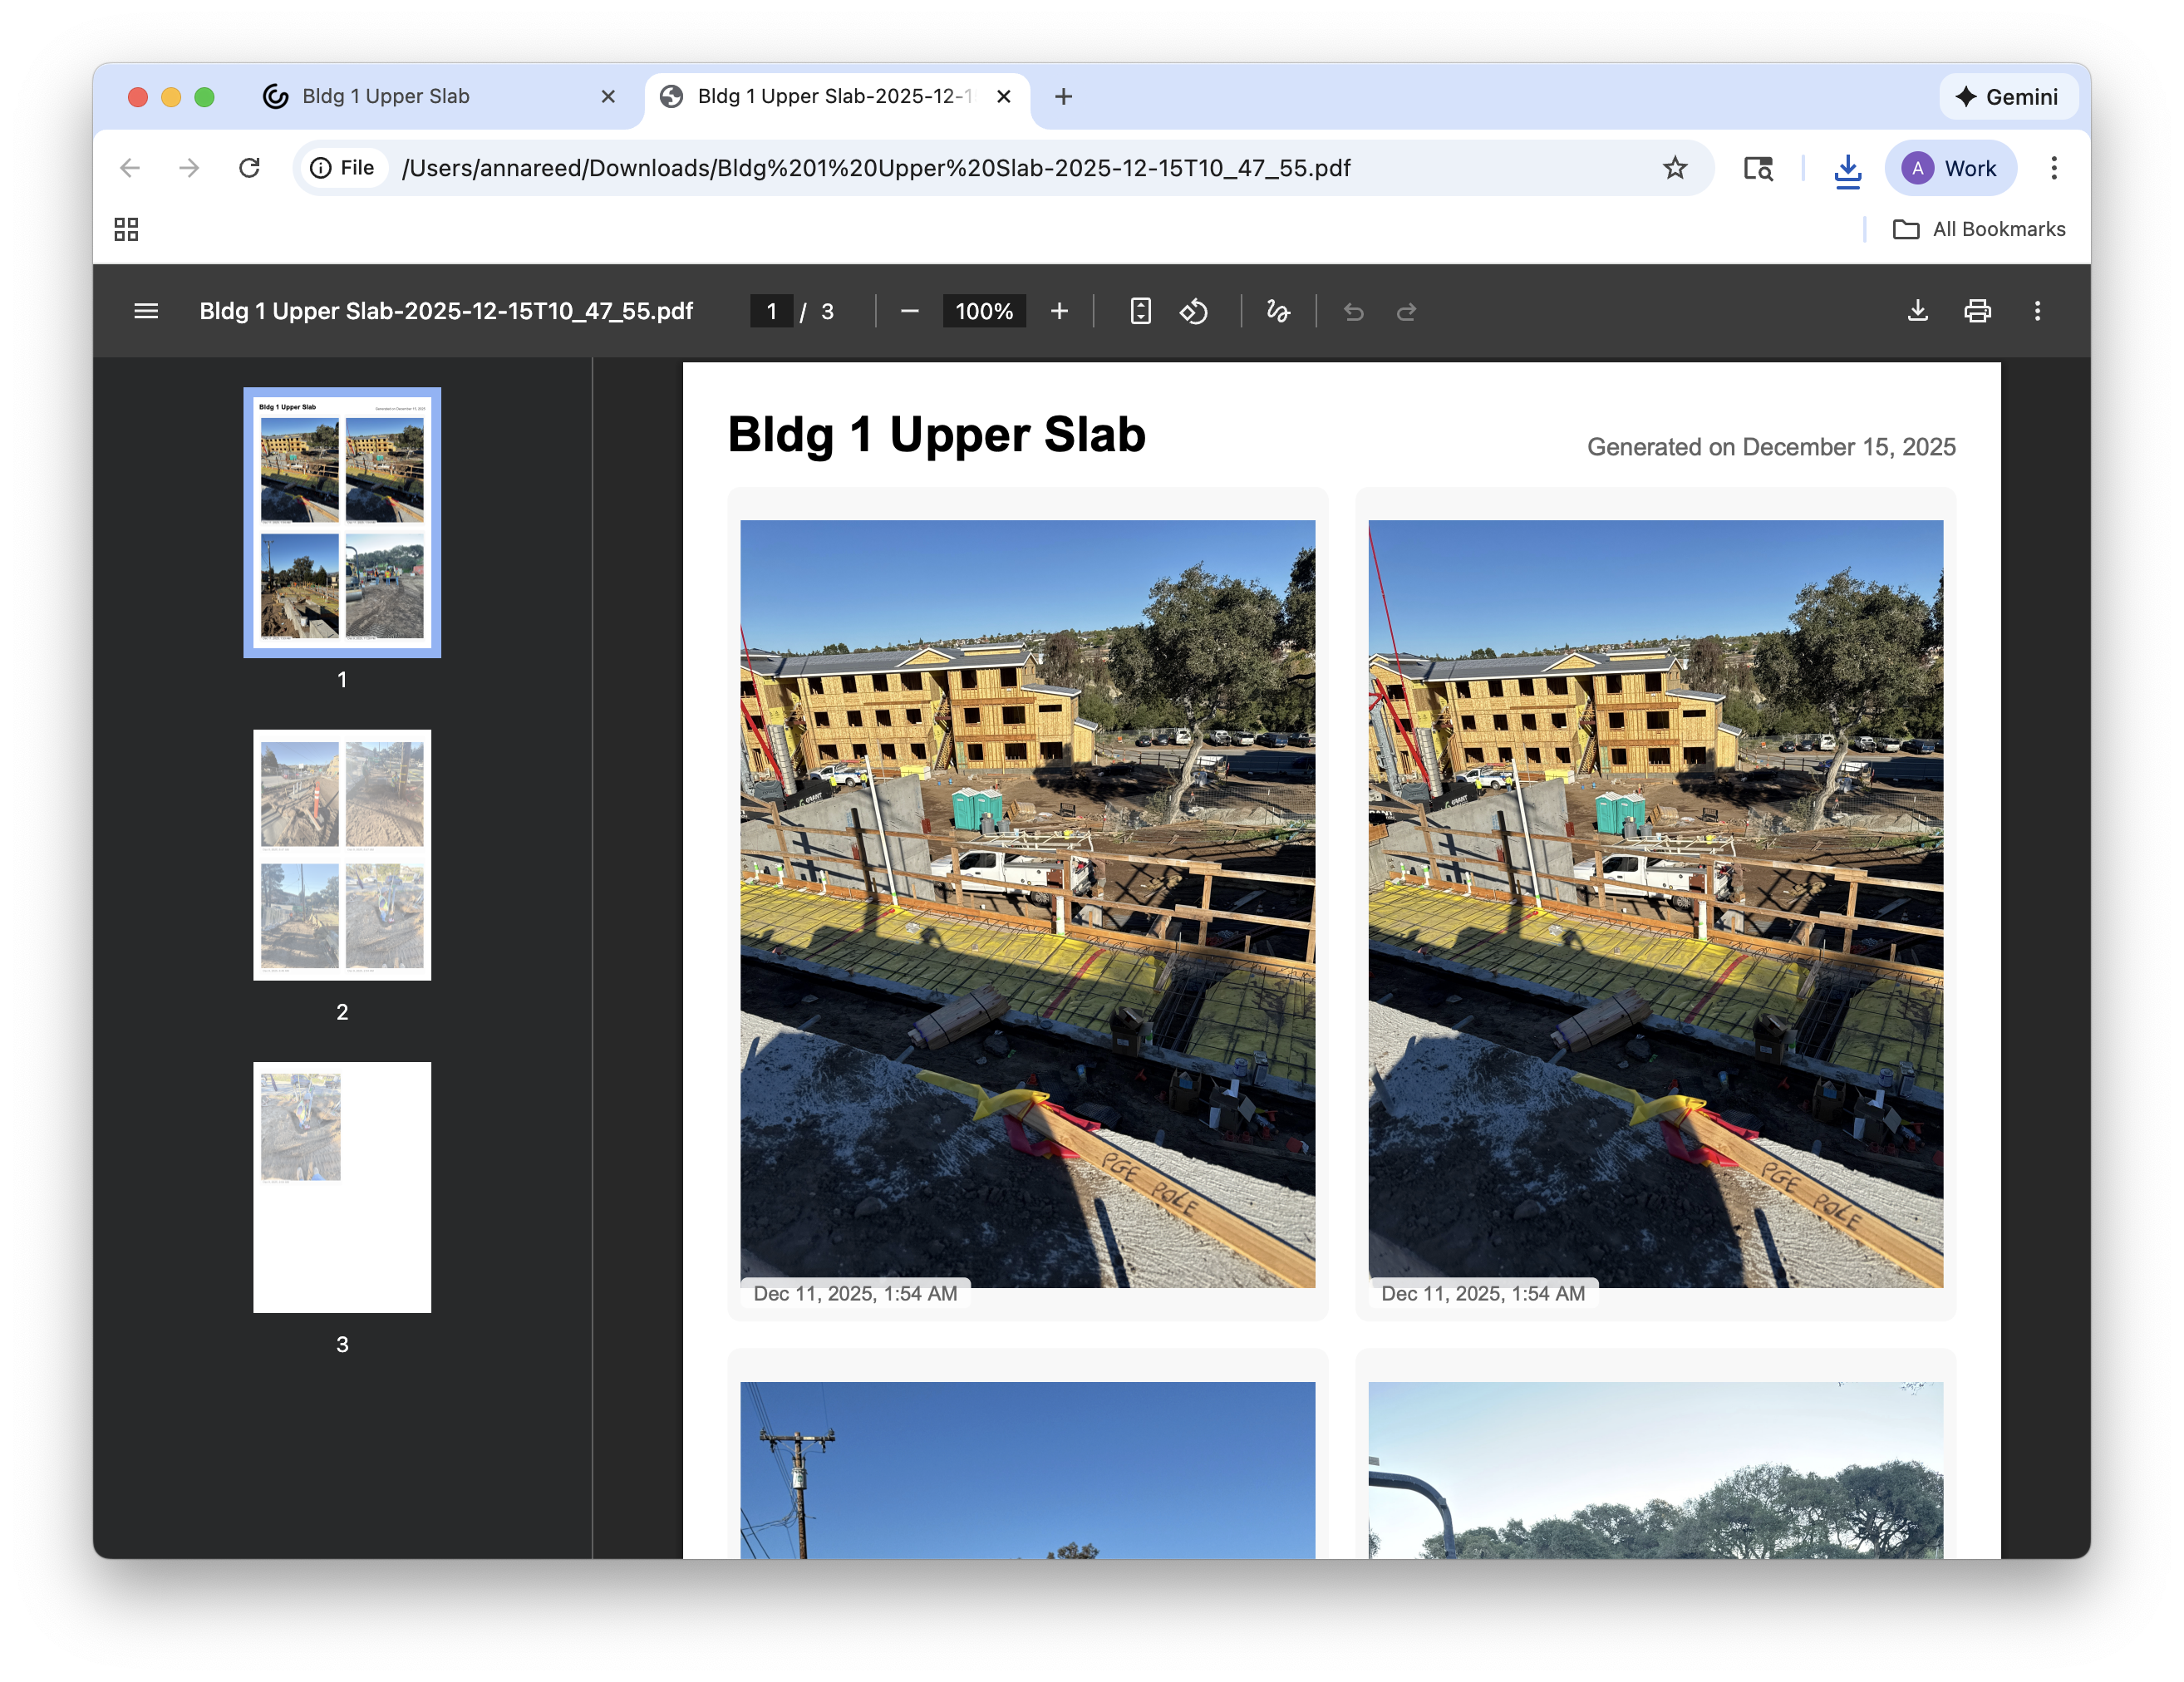
Note: Videos cannot be exported to PDF, so we recommend only selecting photos for this action.
Copy to Album
This action will keep the media in this album, while also adding to another one.
Move to Album
This action will move the content from this album to the designated one. The selected photos will be removed from this album and added to another.
Note: The Daily Log Photos album plays by a different set of rules than other albums created by your team. Media in this album cannot be deleted or moved, only downloaded or copied.
Notifications
If you have a particular album that you would like to keep close tabs on, you can change your notification settings by opening the album of interest, selecting the Bell Icon, and updating your preferences.
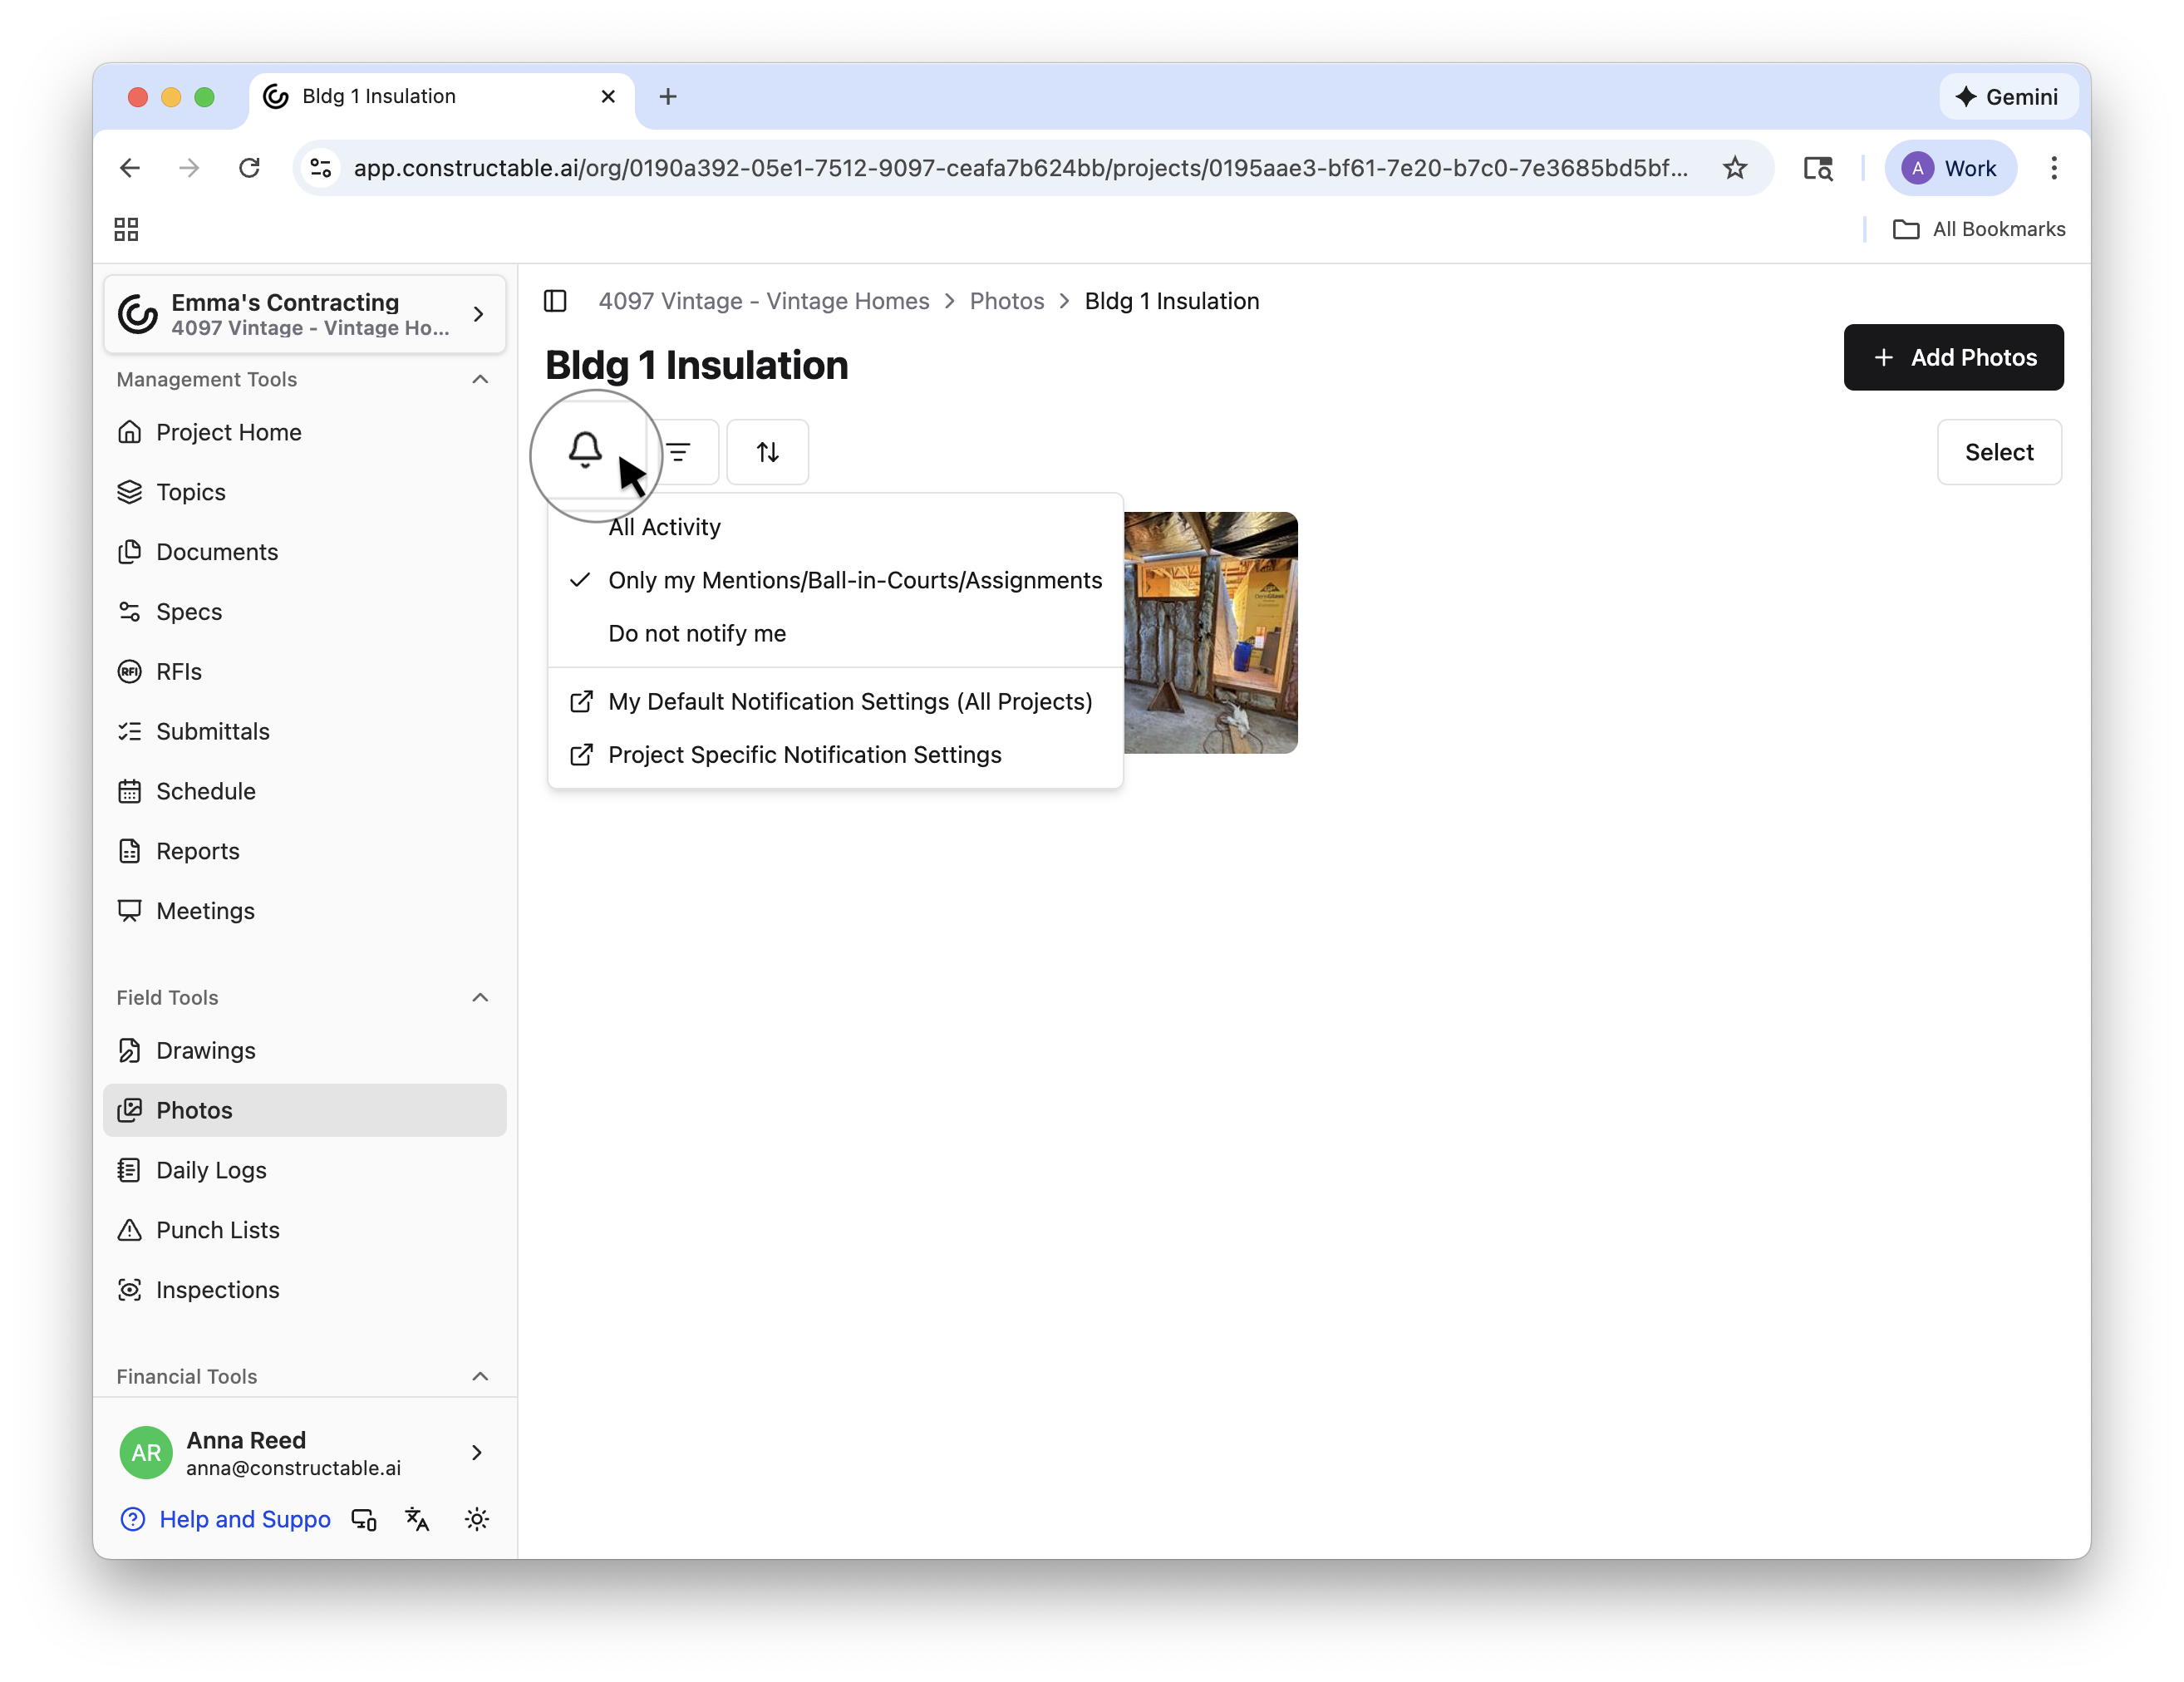
If you’d like to change all of your notification settings, you can easily access them from here by selecting the hyperlinked My Default Notification Settings (All Projects) or Project Specific Notification Settings buttons at the bottom of the dropdown.
Note: You can also access Default Notification Settings (All Projects) from the My Account page under the Notification Preferences dropdown. Similarly, you can access Project Specific Notification Settings from the Project Home page under the Notifications dropdown. (This is where the links in the dropdown menu redirect you.) See: 📄 Notification Preferencesfor more information.