Using Markups: Measurement Tools
Last updated: February 7, 2026
Overview
Measurement markups allow you to measure distance, area, and quantities directly on drawings. This article explains how to calibrate drawing scales and use each measurement tool to capture accurate dimensions and counts. All measurement tools are available from the Markup menu in the drawing viewer sidebar and rely on proper scale calibration for accuracy.
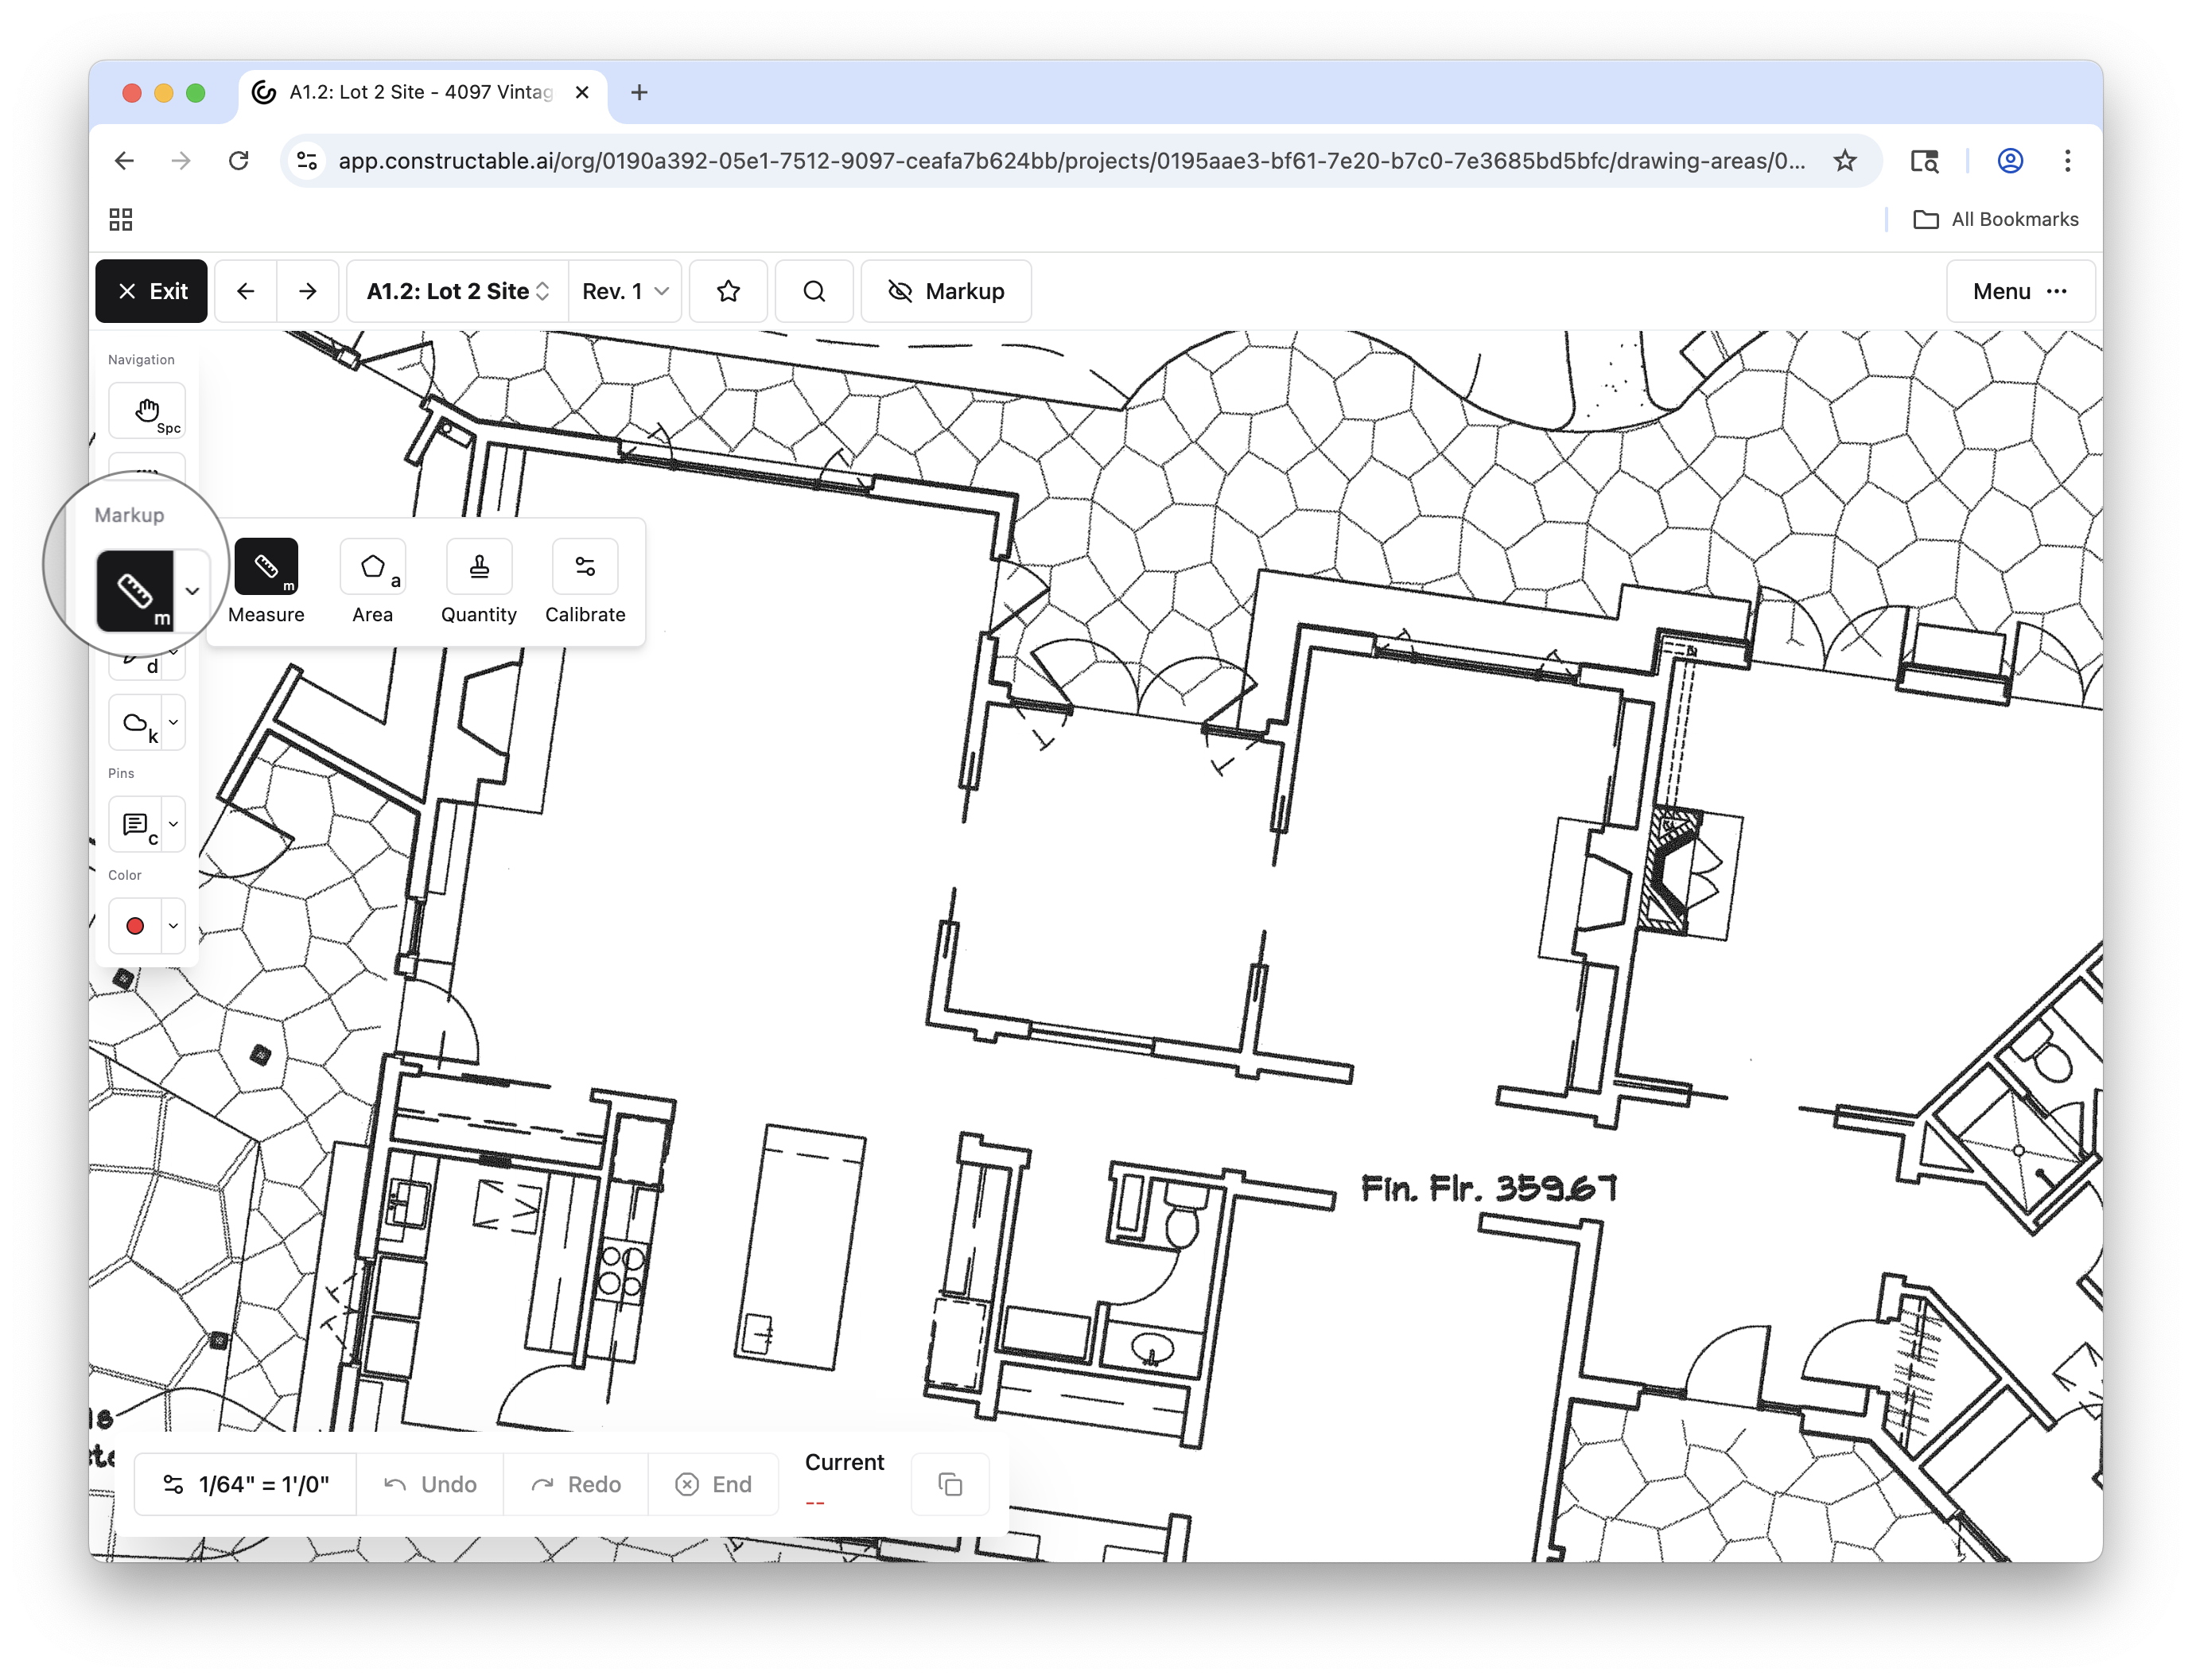
Note: Markups are not saved unless they’re added to a topic. For more details, see Using Topics.
Page Scale Calibration
If one scale is clearly denoted on your drawing—congratulations! Our software uses AI to read your drawing and will automatically set the page scale for your measurements. If multiple scales conflict on a single sheet, or if the sheet has a line scale, then you will have to manually set the measurement scale. To do this, select the calibrate icon.
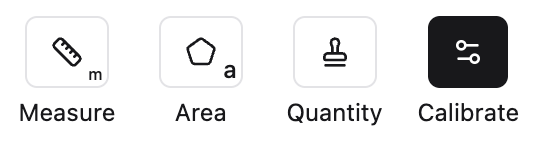
A pop-up window including all the necessary information we need to measure your drawings will appear. This window will include the ability to manually enter the scale on the page, real-world standard scales to click for speed, and any rounding preferences you may have.
You can also calibrate by line. To do this, click Calibrate by Line. Your cursor will turn into a crosshair so you can select the line you'll use for calibration. Once you've finished selecting the two points on the line, enter the real-world scale, and you're all set!
You can easily adjust the calibration line using the select tool: click the calibration line, then drag its end to the new location. Just don't forget to change the real-world scale.
Pro Tip: Double-check that your scale is correct by using the calibration line with the distance-measuring tool!
Now that our scale is set, it's time to start measuring!
Measuring Distance
To measure the distance between any number of points, select the ruler icon under "Markup" in the sidebar. The distance measurement is the default measuring tool when you open a sheet for the first time.
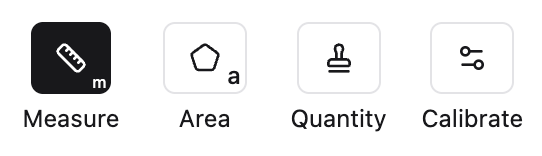
Once you select the ruler, your cursor will turn into a crosshair to indicate that you are ready to begin measuring. From there, click on the points you'd like to measure. If your scale is set, the measurement will appear as soon as you select your points. If you select more than two points, this tool will offer the distance between each point as well as the total distance of all points.
If you'd like to break up the different measurements, select End in the menu at the bottom. This will allow you to separate your measurements rather than keeping them continuous. Additionally, you can undo and redo any measurements through this menu. The current measurement is also displayed in the menu. You can copy the current measurement to your clipboard by selecting the button to the right.
Measuring Area
To measure the area of any part of a drawing, select the pentagonal area icon.
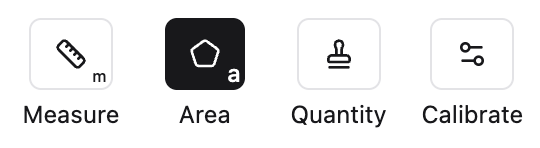
Similar to the ruler, your cursor will appear as a crosshair to indicate that you are ready to measure. Click the points to create the desired area, selecting them in order. The measured area will appear shaded with "A= #" inside. Once you select End, the perimeter measurement will appear under the area.
You can also end an area measurement by double-clicking your last point. Doing so will close the area and complete the measurement
Pro Tip: To create a perfect rectangle or square, hold down the Shift key and click and drag in the drawing. From there, you can use the select tool to click and adjust the corners if necessary.
You can add additional points to an area measurement after the fact by double-clicking on sections of the area shape using the select tool. From there, you can move those points around as you see fit. We like using this with small cutouts, but use it however works best for you!
Pro Tip: You can quickly access the distance and area measurement tools by pressing "m" and "a" on your keyboard, respectively.
Quantity
The quantity tool is used to count and track repeated items directly on a drawing, such as sinks, toilets, fixtures, outlets, or other identical elements. This is especially helpful during takeoffs or when verifying counts for estimating, procurement, or coordination.
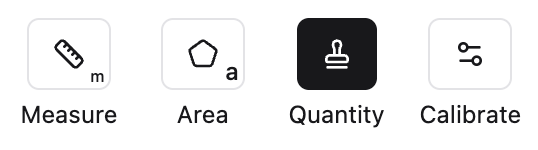
Select the stamp icon to activate the quantity tool. Your cursor will turn into a crosshair, allowing you to click on the drawing to place a marker around each item you want to count.
Note: The quantity tool is only accessible if you are in Takeoff Mode.
Customizing Your Measurement Markups
You can change the color of any measurement tool by selecting the "Color" dropdown menu in the sidebar. Either use the select tool to highlight a markup that's already been created, then change the color, or change the color before taking the measurement.
Frequently Asked Questions
Do I need to calibrate the scale before measuring?
Not necessarily. If the scale is clearly listed on the sheet, our AI will automatically set the scale. If the scale is not set, you can measure something and add the scale afterward, though we recommend setting the scale early to ensure accurate measurements.
Do measurement tools automatically detect the drawing scale?
Sometimes. If the scale is clear on a sheet, then our software will automatically update the page scale. Otherwise, scales must be entered manually or calibrated by line. This ensures accuracy, especially since drawings may be issued with inconsistent or unclear scale information. Always check if something looks off!
What happens if I change the calibration after measuring?
Existing measurements will update to reflect the new calibration. If you adjust the calibration line, be sure to also update the real-world scale value.
What is the quantity tool best used for?
The quantity tool is used to visually count and track repeated items on a drawing by placing markers around them. It is especially useful for takeoffs or estimating workflows where tracking quantities directly on the plan is helpful.